Last fall, a neighbor cut down a tree. It was a dead ornamental pear tree that I’d guess was about 15 years old or so. Some kind of bug swarmed onto it in the spring and literally ate anything green. Without any way to harvest sunlight, it was dead very quickly. It might have come back in the spring, but they decided it was an eyesore and took it down. My kids saw it, and put out the “hey dad, there’s free wood on the curb” alert. Most of the trunk of the tree wasn’t really big enough to use, but they had pulled the majority of the stump out of the ground and left it there.
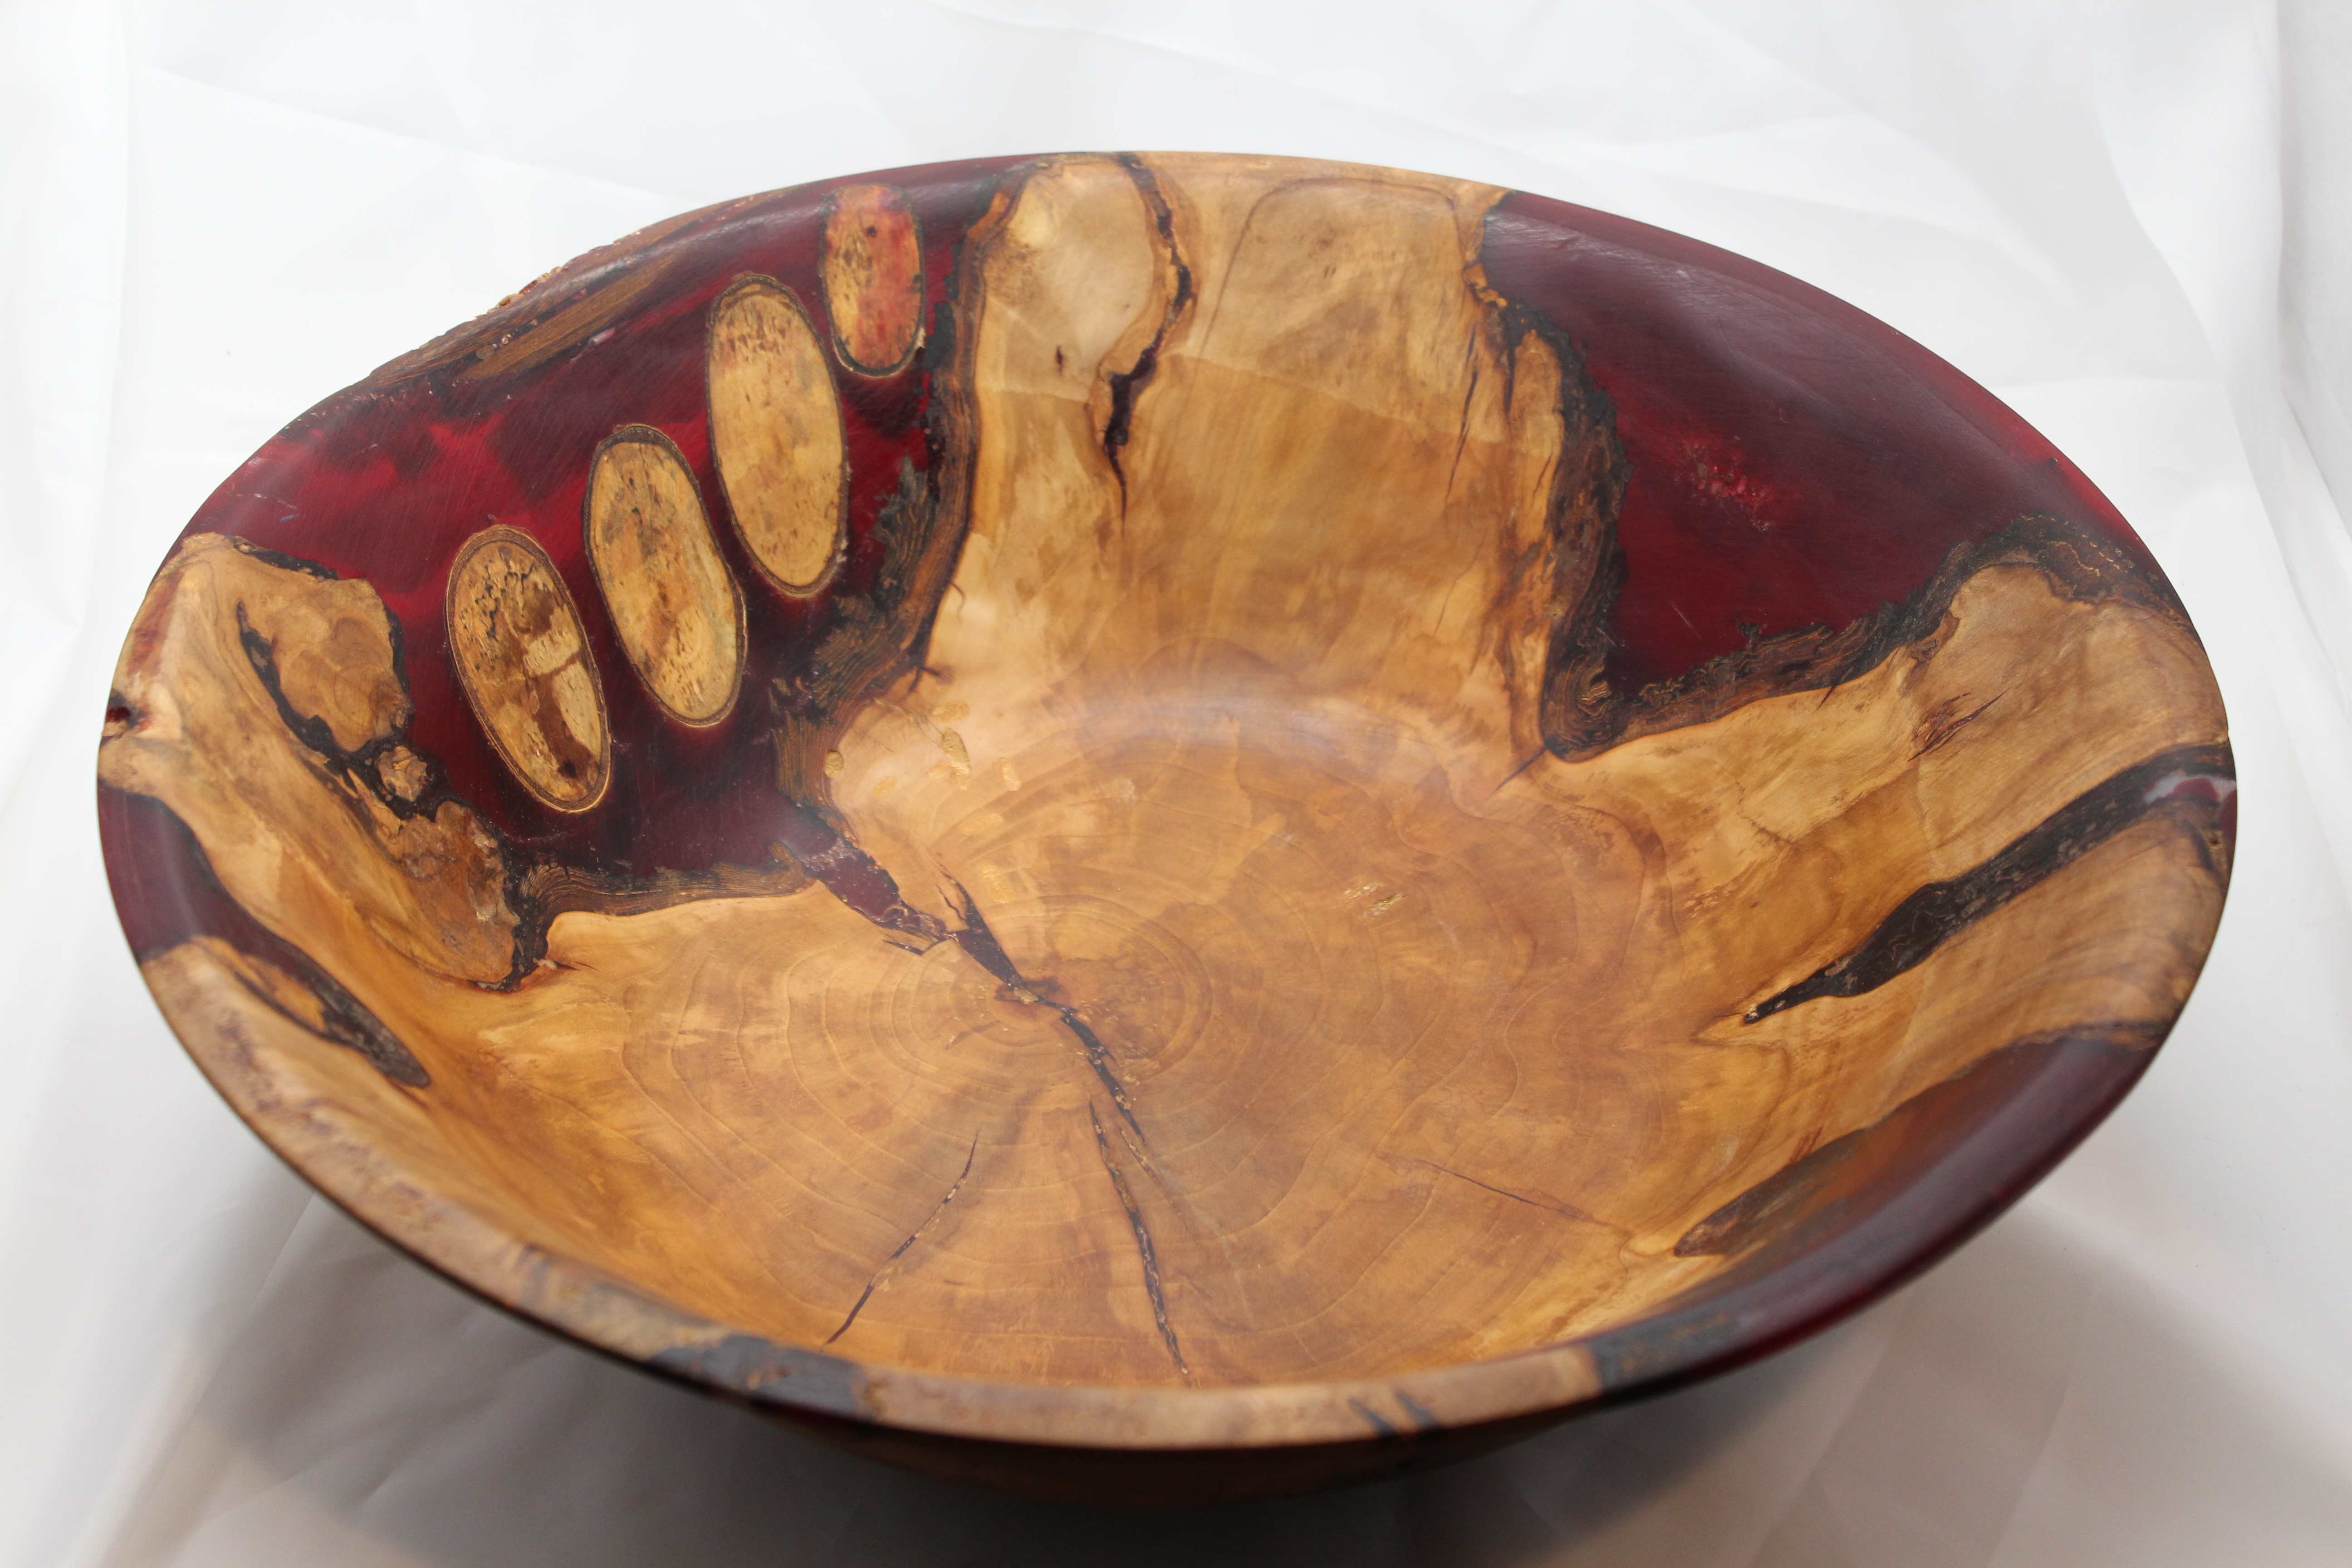
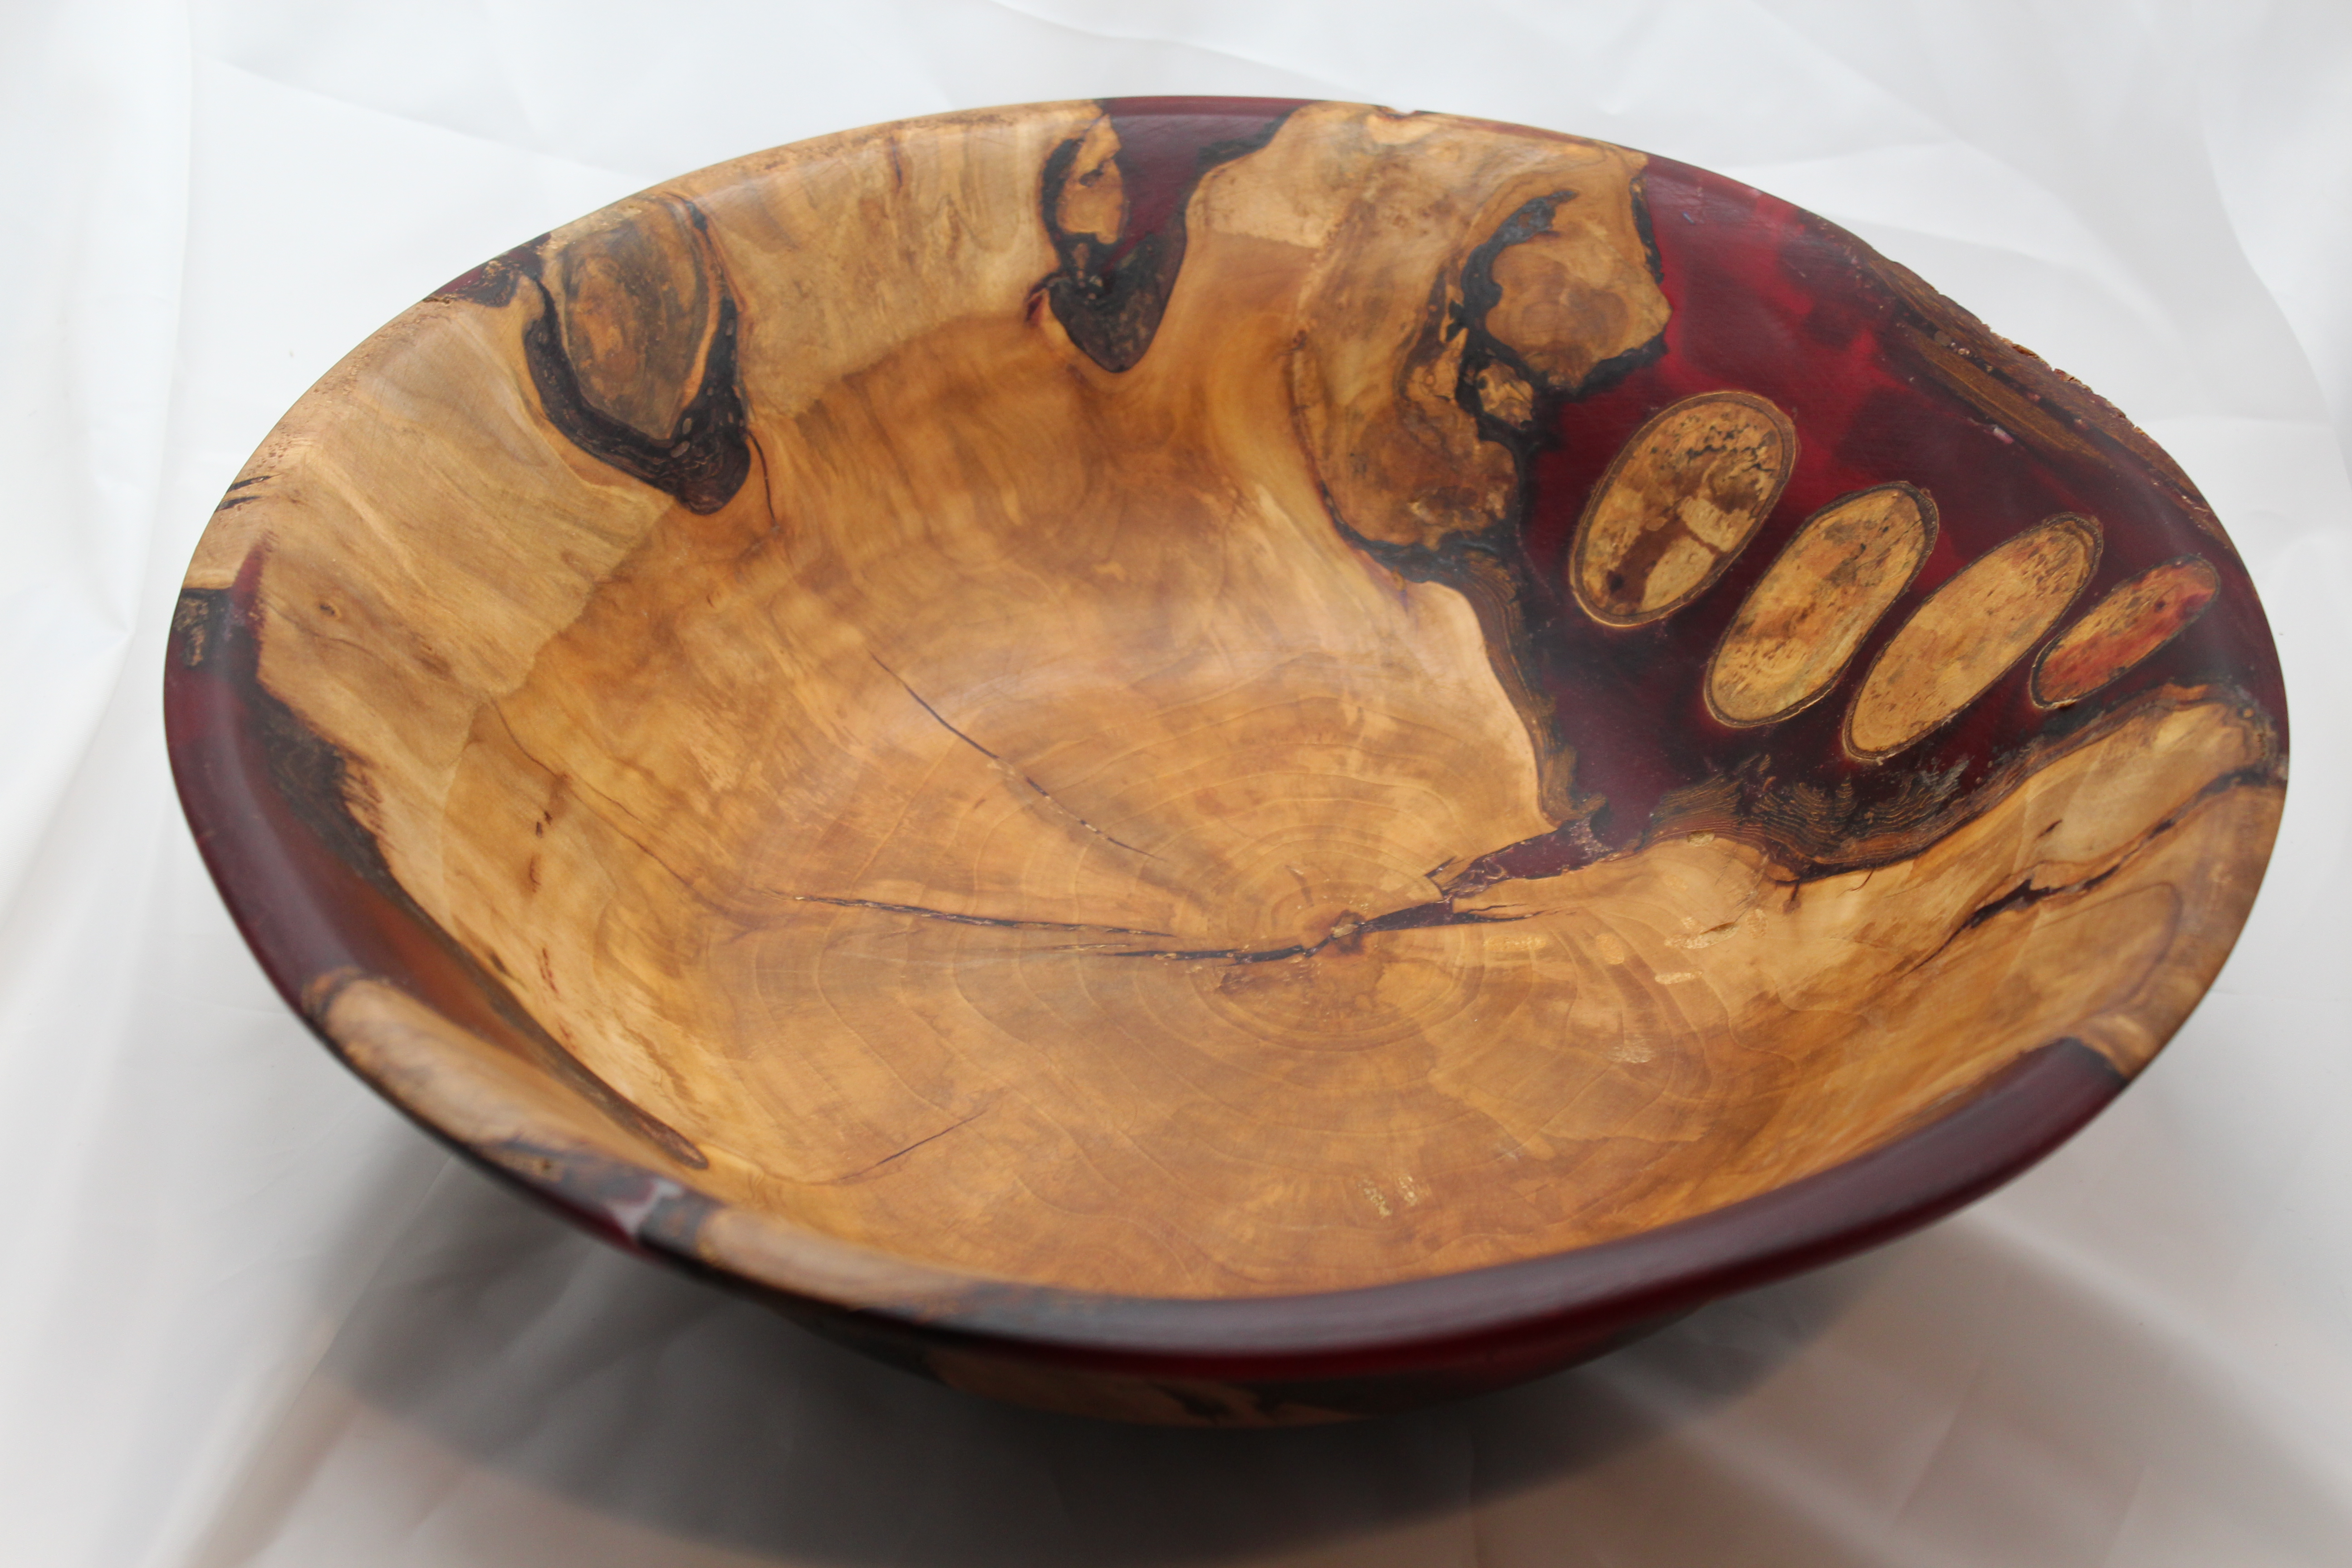
Looking at the stump, I thought it would turn into something cool, but didn’t know what. I left it in the garage to dry while I thought about what I could make out of it. Time passed and it got shuffled into a corner, covered by other chunks of “curb wood” and forgotten. This summer, as I was cleaning things up, I found it again. It hadn’t cracked, but it was upside down from how I had initially left it. That’s when it hit me that I could turn a bowl out of the part where the roots were coming out, fill the gaps with colored resin, and make something different, translucent, and big enough to test out the limits of my new lathe. So in August, I started roughing it out.
After it was fairly round, I could see the parts that would need to filled with resin. Here’s the part where once again I was reminded that I really should have paid better attention in school. I vaguely remember Mr. Oyer droning on about this mystical thing called “gravity”. Something about how everything falls down, water seeks it’s own level, and an apple will smack you in the head if you fall asleep outside. Turns out, he was right. Pouring a liquid resin on a circular surface gets real messy, reall quick. I started making little check dams, using duct tape and painter’s tape to build a floor for the resin to sit on and walls for the resin to stay between. Great idea, right? Not exactly… Turns out resin will leak through any small crack in the wall and puddle wherever it lands. Also, because of the circular form, the only place you can pour resin is on the top surface of the bowl, or the inside bottom of the bowl.
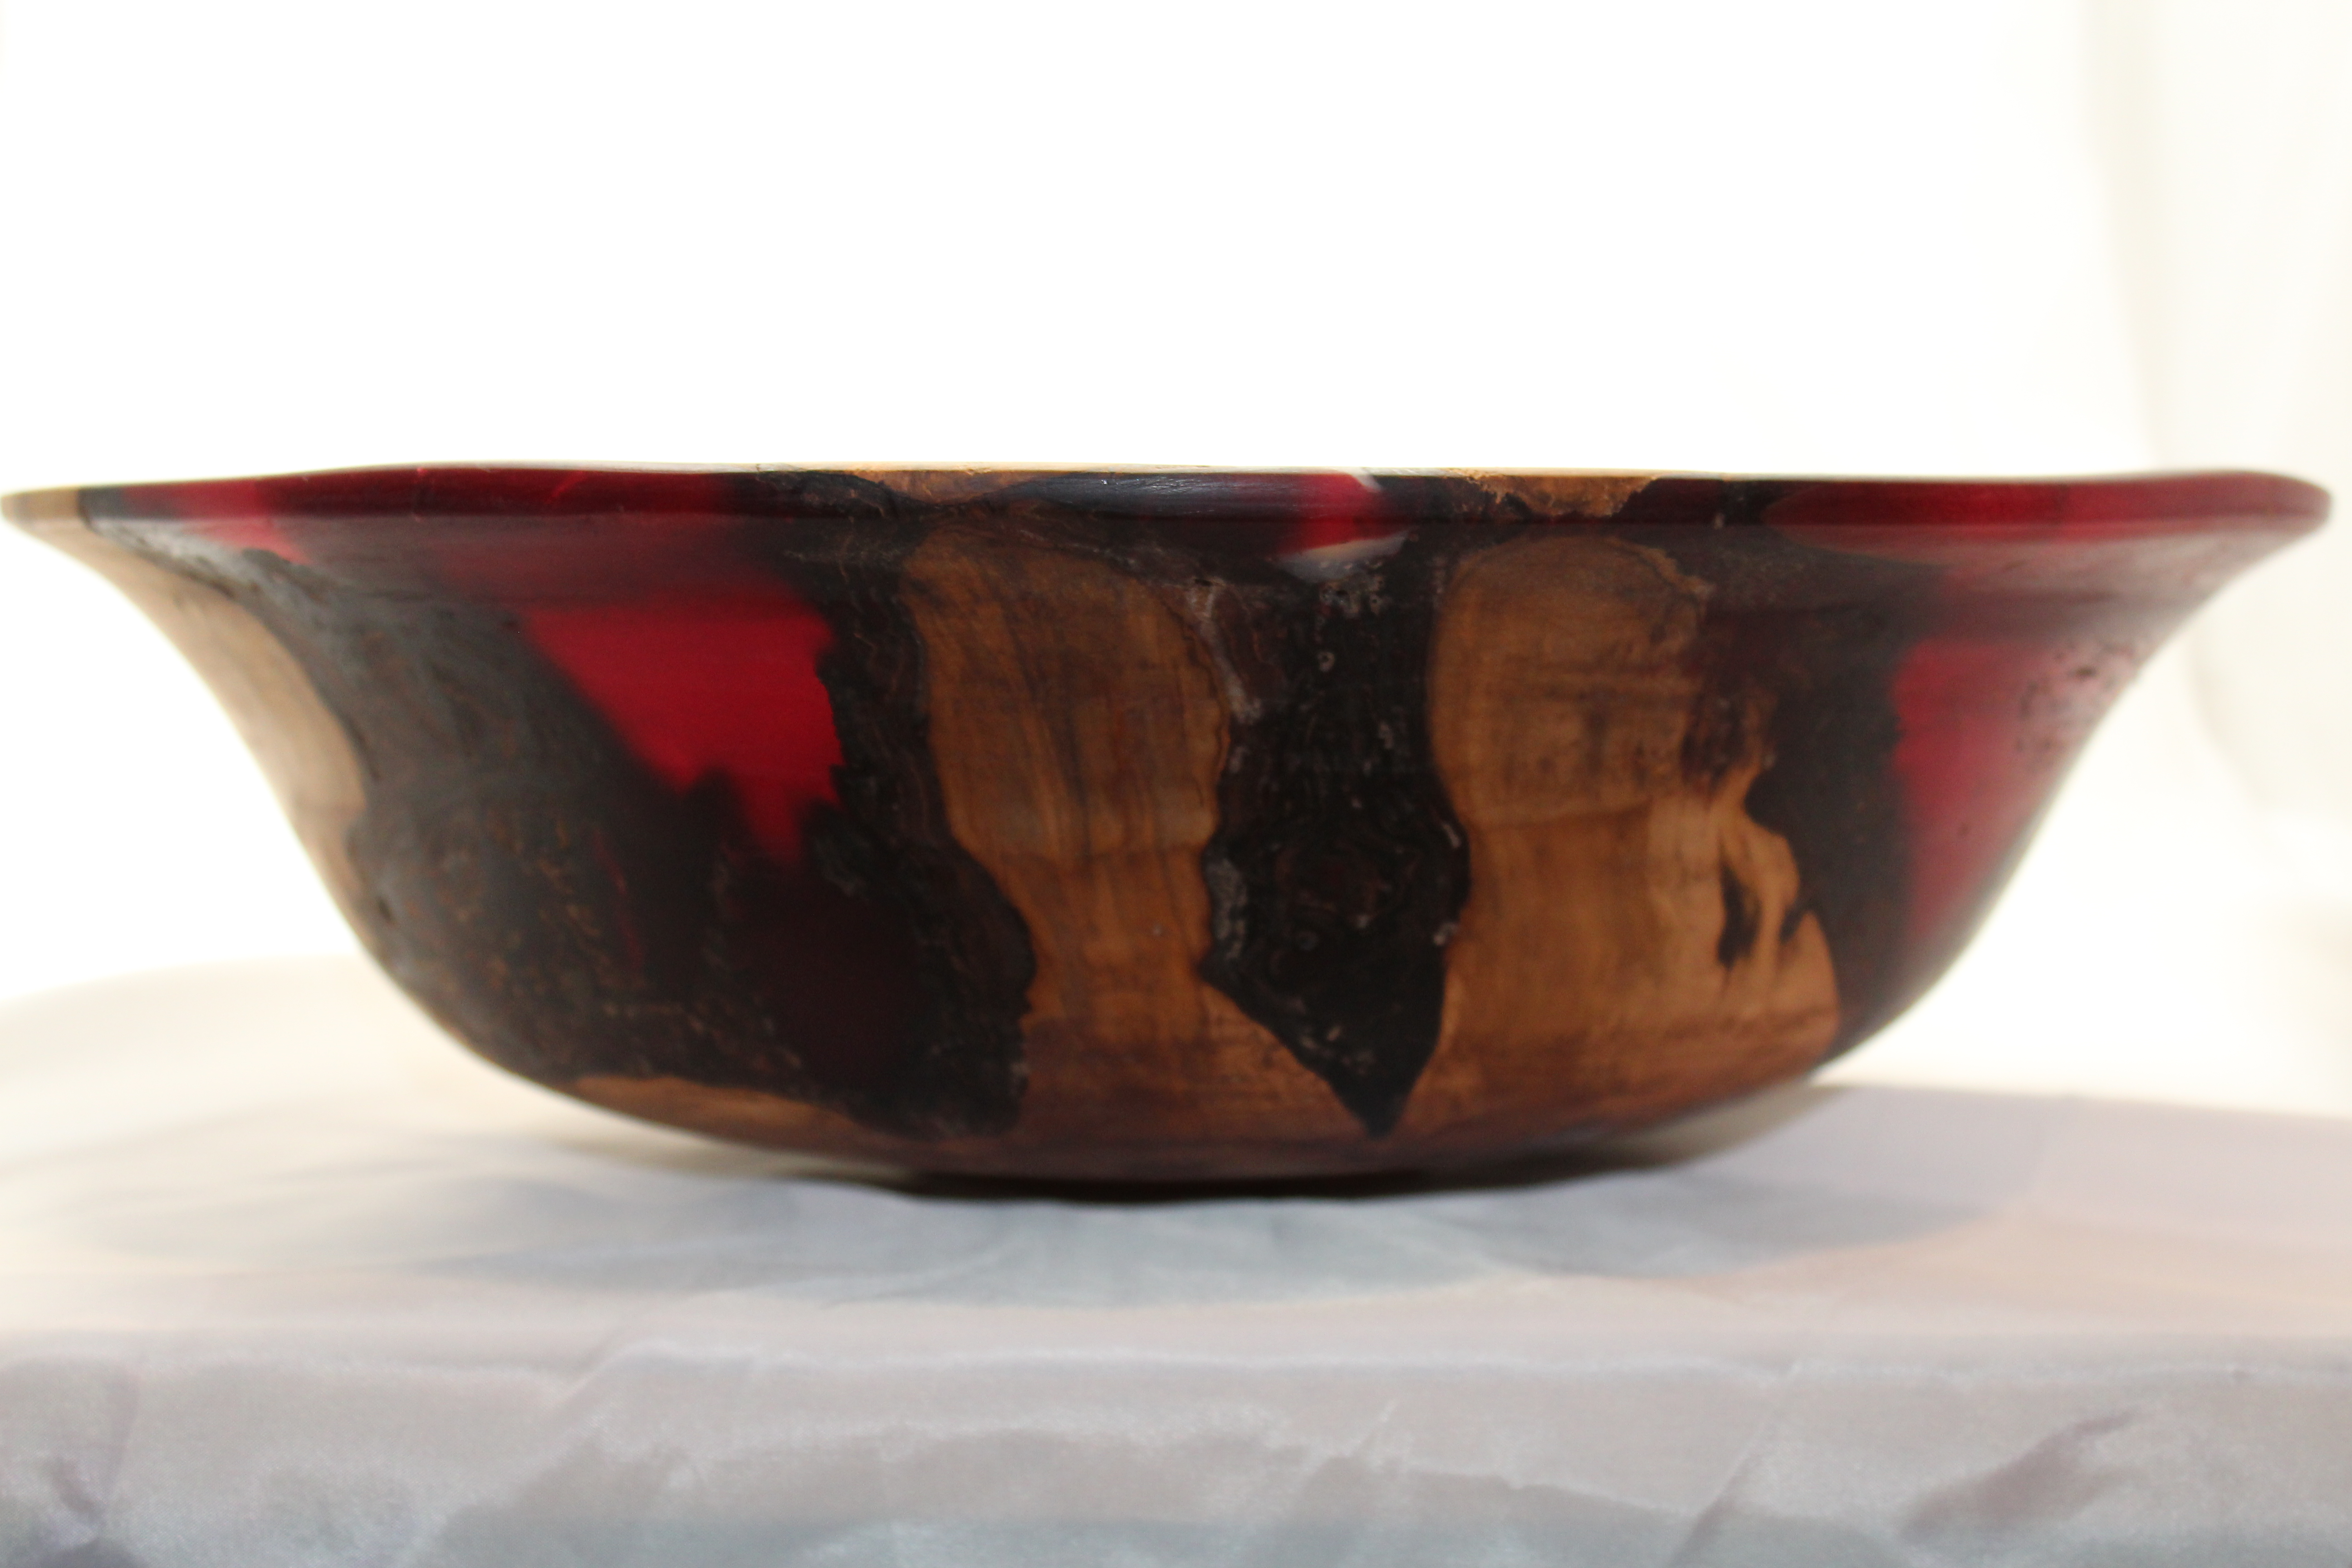
The next month was spent building a little dam, pouring some resin, then waiting for it to cure. Repeat, repeat, repeat… When I thought I had it “done”, I put it back on the lathe and started to refine the shape. Three things became immediately obvious. First, the amount of cleanup that would be required for all the times the resin escaped my makeshift dam would be significant. It takes hours to scrape cured epoxy off the floor, the workbench, tools that were setting on the workbench, the lathe, and a towel that ended up just being thrown away. Second, My check dam method worked (kinda) but all too often pieces of the dam got trapped in the epoxy, so as I started to turn, there were little bits of blue and black tape stuck in the resin like that mosquito in Jurassic Park. The bowl got thinner and thinner as I worked to get those pieces turned away. Lastly, when you use tape to build a dam, it makes straight lines. When the bowl was put on the lathe, it left flat spots on the sides of the bowl, so I had to repeat the dam building/epoxy pouring steps all over again until the resin was built up past the arc.
As I was finishing the bowl, I noticed something very odd. The epoxy was supposed to be like a hard, clear, plastic, but what I ended up with was a softer, almost gummy resin that would expand under the centrifugal force of the lathe. Think of finding a gummy bear the kids dropped down the back of the couch a couple of Easters ago and you’ll get the picture. The flexibility of the resin made it impossible to sand, since any grit of sand paper would dig into the resin as it flopped around. It also made it impossible to turn into a circle, since the resin would bow out as it spun. As soon as I realized what was happening, I declared this failure as good as it was likely to get and admitted defeat. $60 worth of resin and a month or so later and I ended with a bowl that looks fantastic from a distance (especially when there is light that comes through it) but is a floppy mess. This is why it is called the red resin failure.