One of the President’s challenges of my turning club is to make something with burning or carving. That’s a pretty wide open set of requirements. hit the grain with a blowtorch? That works. Wanna carve a flower on your project? Super, that counts. Wanna carve obscenities into the project like Chicago graffiti, throw it in the fireplace until it starts to burn, then put the fire out and add some wipe on poly? Great, can’t wait to see it. As long as something hot enough to scorch the wood, or some sharp tool (other than a lathe tool) was used to remove wood, the project would count toward the challenge.
When I was thinking about projects, I thought I should do something I hadn’t done before, or at least take an older project and step it up a notch or two. At about the same time, I had to drop off some completed wig stands to one of the local high schools so they could embellish them. Not that I’m an overly competitive person, but I figured before the art students returned their completed stands, I’d do something that would blow theirs away. (It’s the little victories in life that keep me going…)
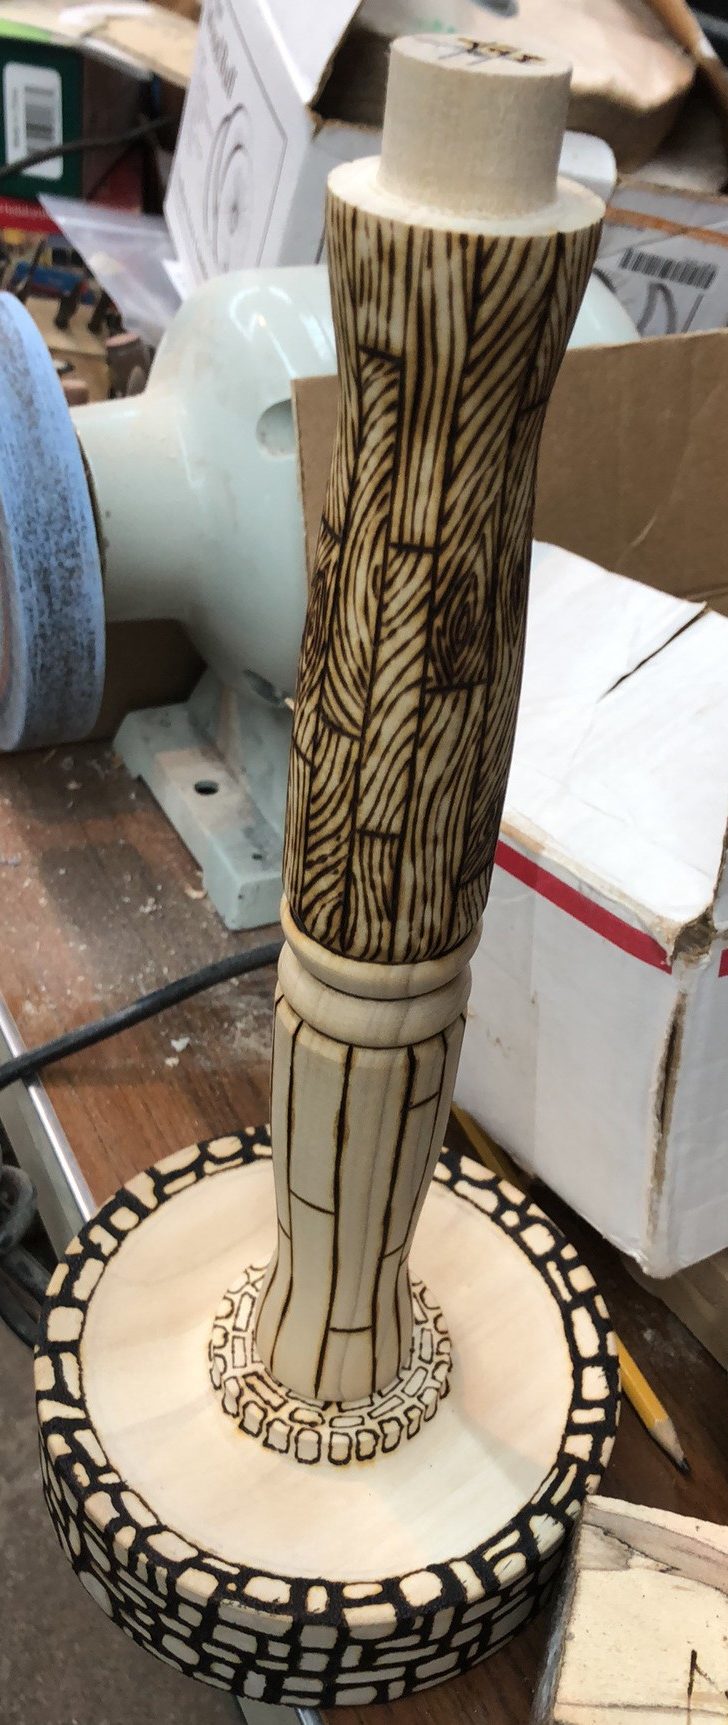
I ended up deciding to do an extreme amount of pyrography and make a wig stand that looked like a wishing well. I started on the bottom, making the blocks around the outside and the bricks around the inside of the “pool”. ALL of the black parts that you can see around the blocks were burned in, leaving a dimpled texture to the “grout”.
All of the black lines you can see was done with a wood burner. Yes, it took a LOT of time! On the base, that thick black line is actually textured with an endless number of dots, that served to burn the wood and leave a dimpled texture. It seemed weird burning fake wood grain on wood that already had a grain, but it turned out pretty good. This picture is about half way done. I had to stop because the smoke kept drifting into my eyes.
Once I had the bottom and the stem done, I had to figure out what I wanted to do with the top piece. My first thought was to hand carve all each individual shingle, but decided I really didn’t want to do that much carving. Then I thought do more wood, but since it’s all round, I didn’t like the way it looked when I drew it out. I decided to put the top back on the lathe and cut in lines for the shingles, then burn in each shingle. Then, I had to figure out what to do with the underside. That part could be fake wood!
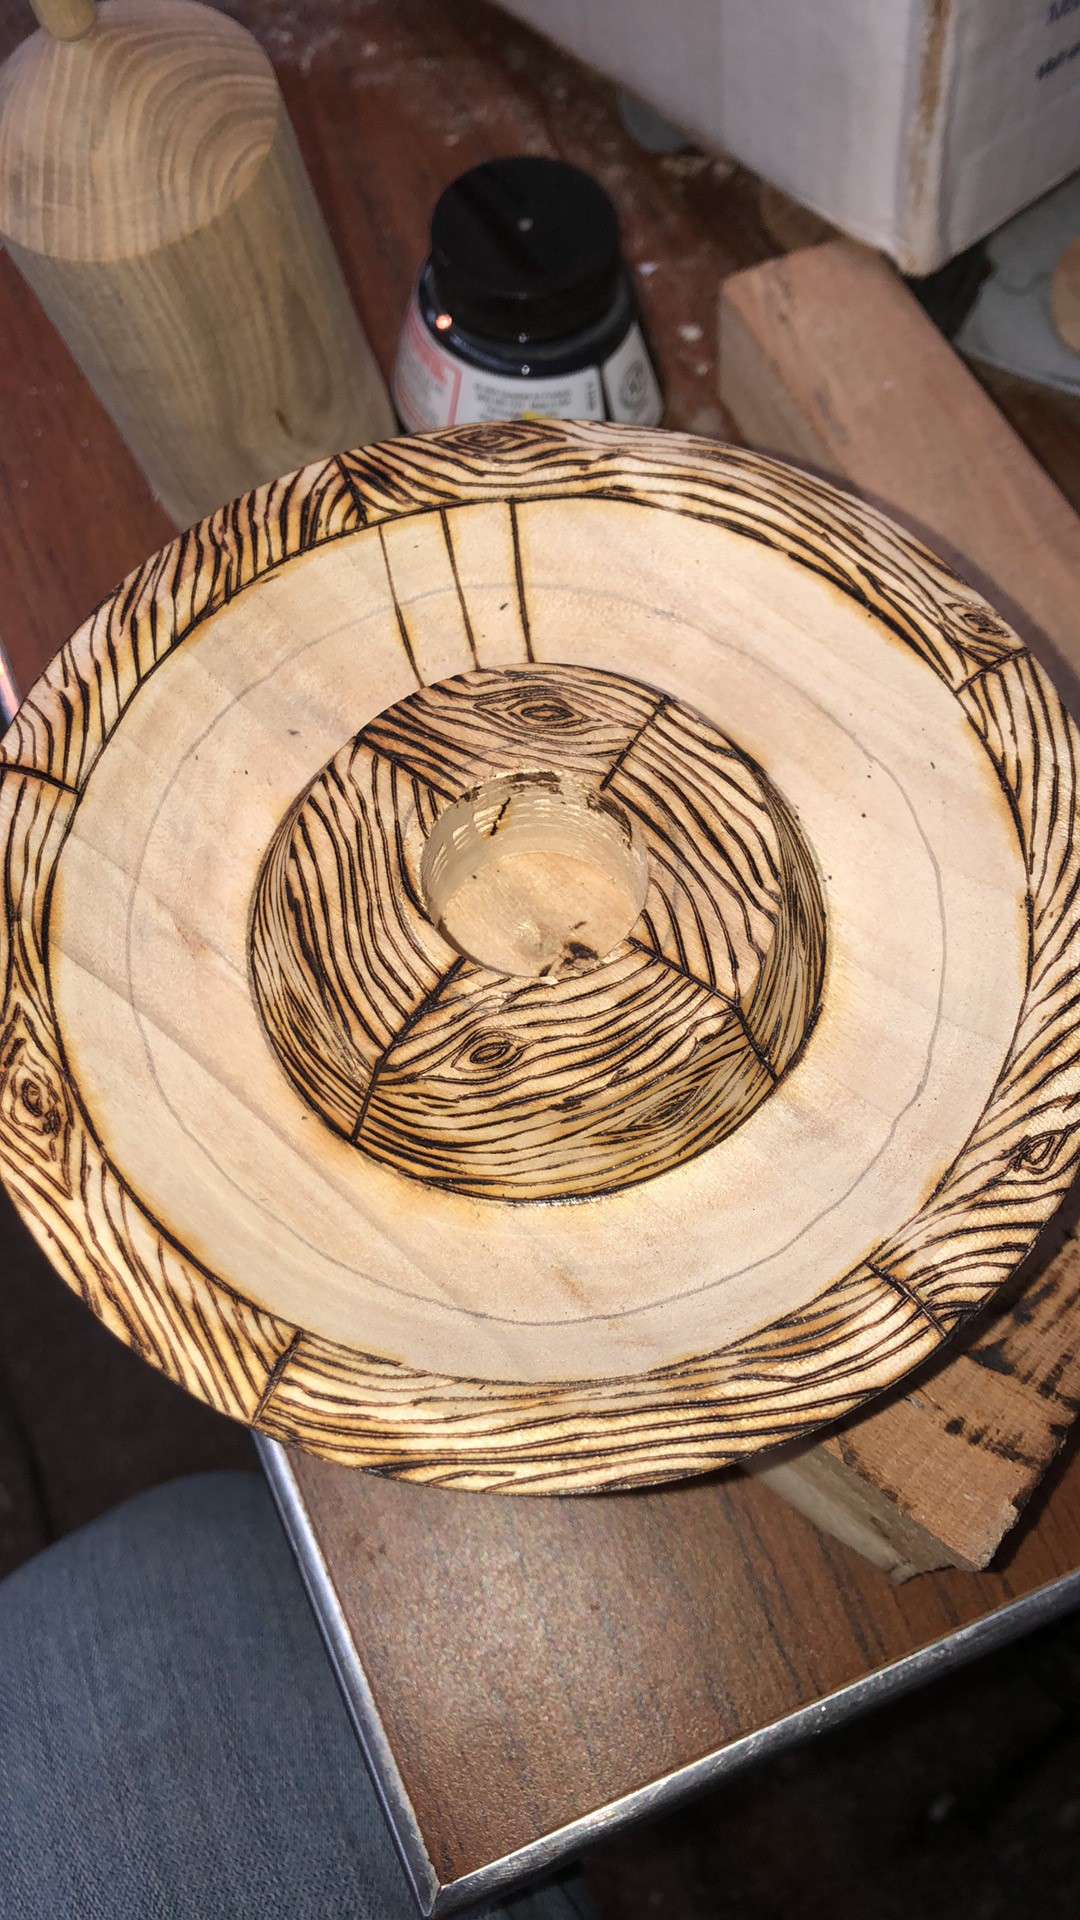
I put the “beams” in, then started doing the individual boards.
Once all the turning and burning was done, coloring was next. India inks come in a wide variety of colors and the wood burning that was done actually acts like a dam to keep the ink from leaching out onto the rest of the project.
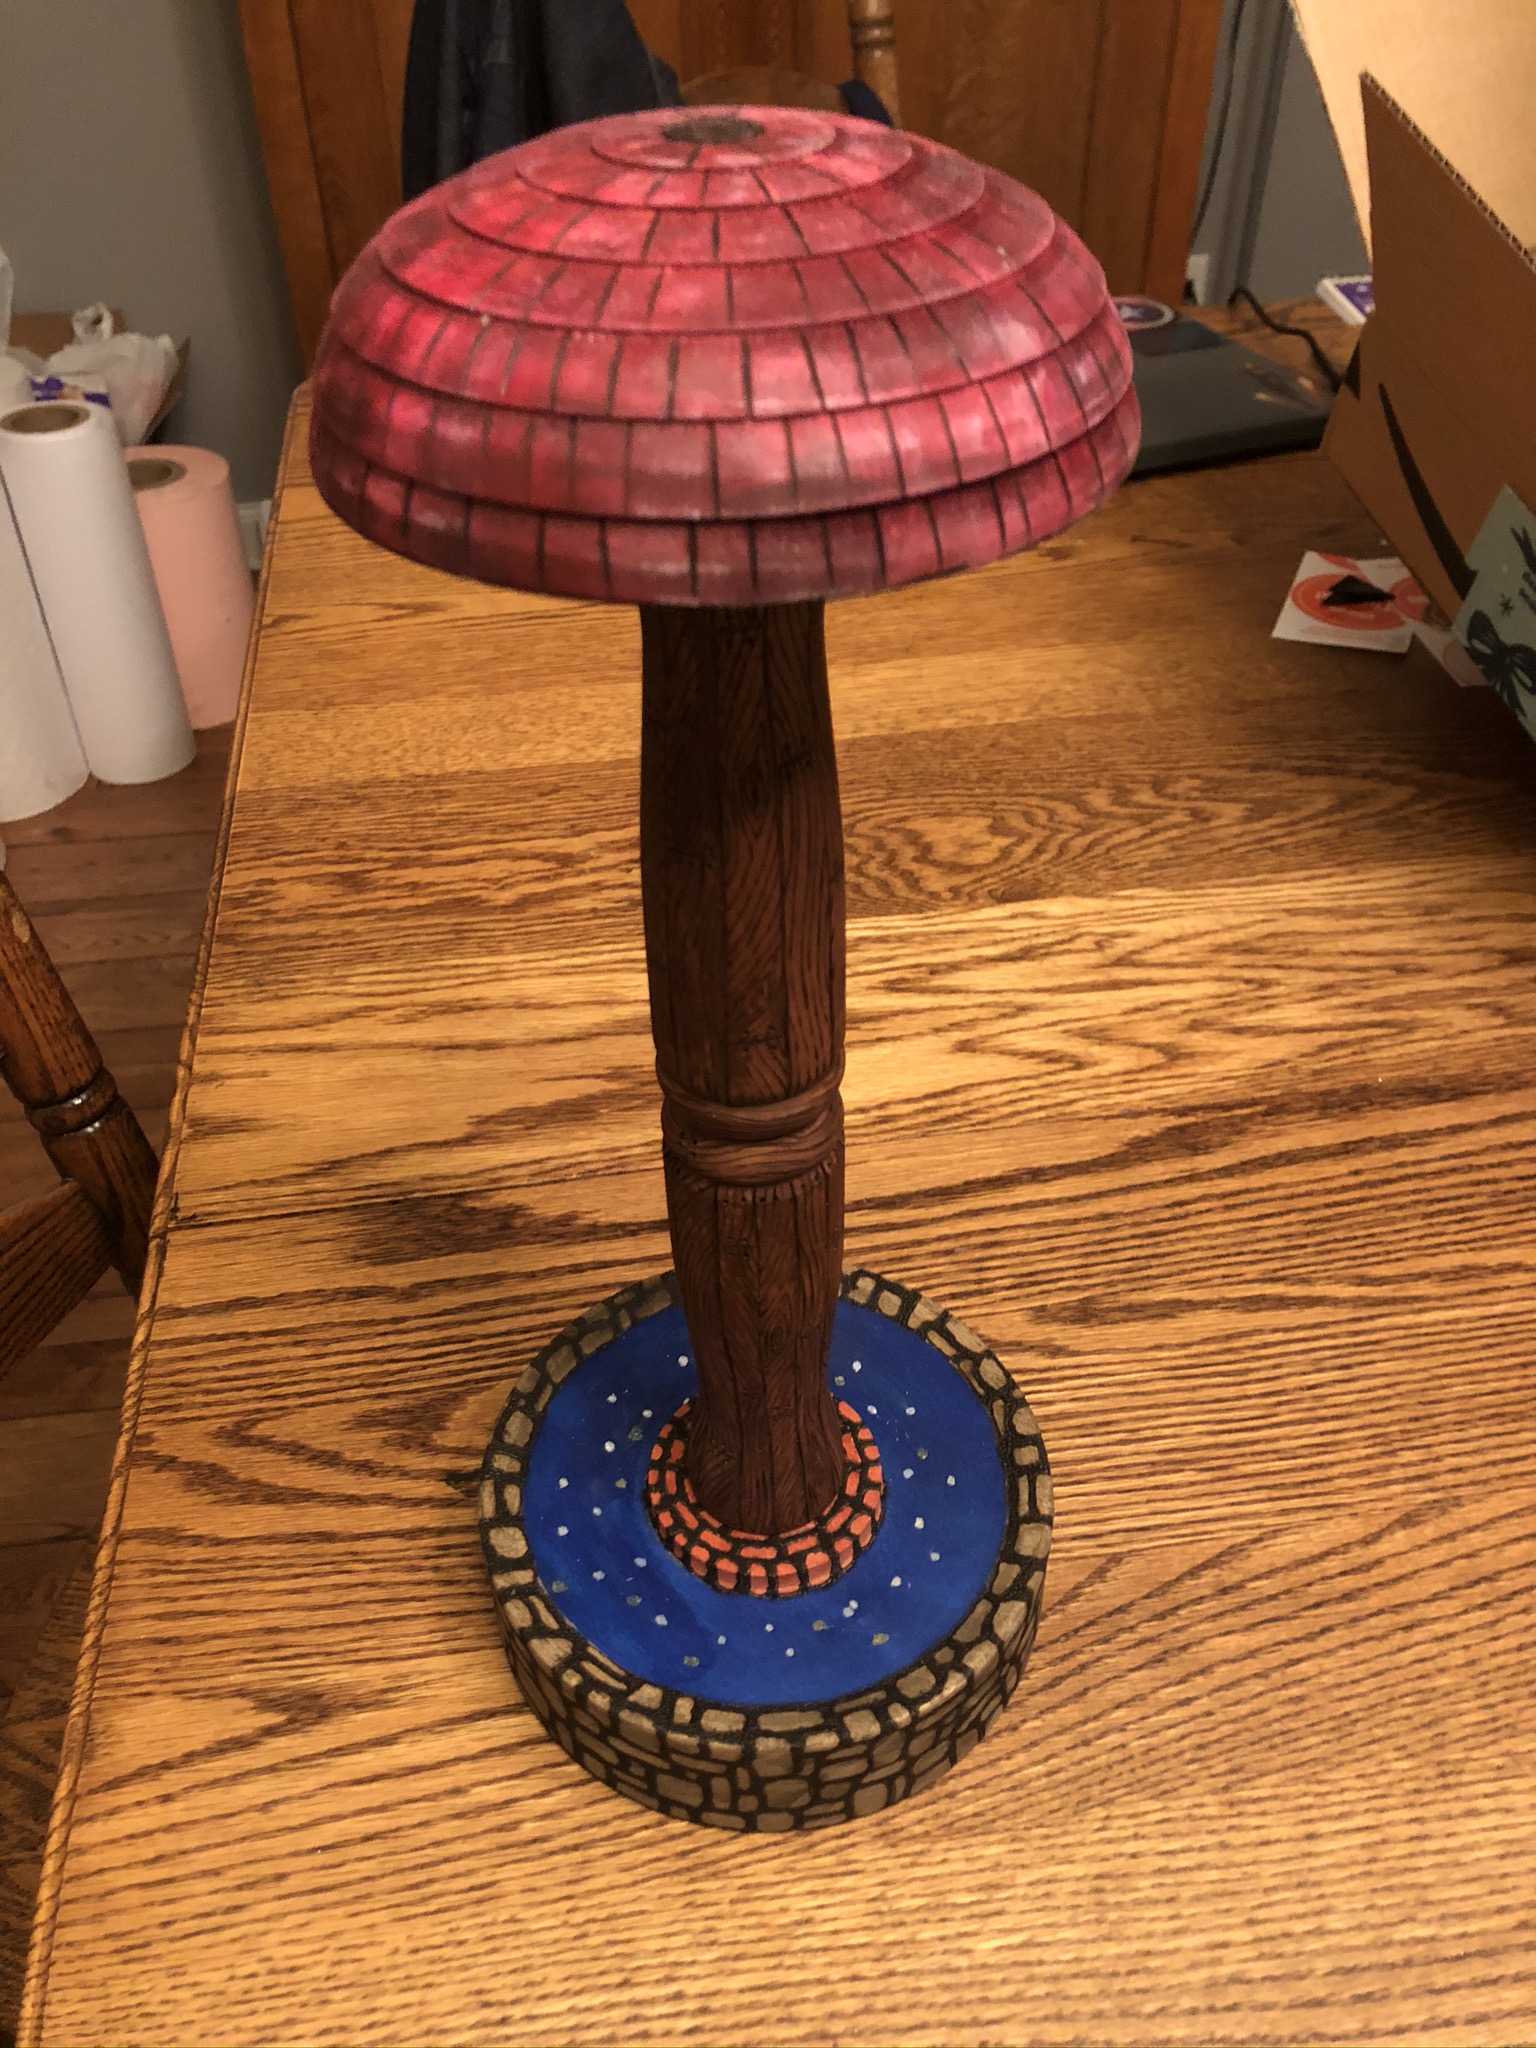
Grey for the blocks, terra cotta for the bricks, blue for the water and brown for the wood. The coins in the fountain are acrylic paint dots. The ink won’t stick to the paint, so it leaves little circles. In this picture, you can see the colors, and just how much burning there was. I even burnt nail head into the wood next to each seam.

The last bit to do was the top piece. I had some “cranberry” colored ink that looked like it would be perfect! The only problem was when I put it on the wood, there was such a dramatic difference between how the end grain and the side grain took the ink, it looked really crappy. The end grain looked almost brown and the middle looked light and shiny. To fix it, I started dry brushing other colors of ink. After a little white, some yellow, some scarlet, and a little magenta, it seemed to be at a point where it at least looked like it was a little more planned.
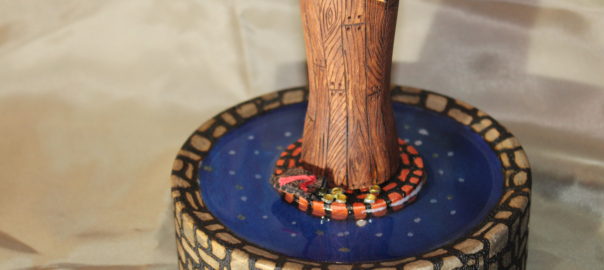
I was happy enough to call this one done, then I showed it to my youngest daughter. She got that look in her eye and told me not to do anything and give her a few minutes to “take it up a notch”. She went to her crafting area and returned in 20 minutes or so with a teeny tiny leather pouch, with a working red draw string. It was filled with these little gold things that she’d cut off of some fabric that look like gold and silver coins. She figured if it’s a wishing well, it needs coins. We added a little sign, just to finish it out.
Here’s the finished product. Really like this one and hope the wishes for whoever gets this one actually come true. Especially if wish is to be cancer free.


