I’m not what could be called a religious person, but I do think people come in and out of life, when and because they’re supposed to. It’s funny how the “right” person just shows up when you need to go through something, good or bad, and in hindsight their participation was everything. Call it God, call it fate, call it an accident, or call it what you will, but I think that’s the whole point of life: To learn what you need to, experience what you must, and be better because of it.
Such was the case with Bob Adam. He was my woodturning mentor, my friend, my confidant, and it many ways one of the most understanding and supportive people I’ve come across. Sadly, he lost his battle with Parkinson’s in the summer of 2025. Since then, I’ve been trying to move on, but I keep seeing his fingerprints on my life in ways that make me smile while crying.
My first interaction with Bob was with him teaching me wood turning. Understand, Bob knew more about the craft than I would ever learn, so he wasn’t doing this because he needed the interaction. This was 100% his way of fostering the love of a skill. He was a teacher, I was just a bad student. Over time and I suppose just getting to know one another, he became more of a mentor and less of a teacher. Yeah, he kept teaching me, but other things (like right vs. wrong, good vs/ bad, basic morals) starting creeping into conversations. Bob taught me that the outcome isn’t as important as the process you took to get there and I see now he wasn’t just talking about a wood turning project.
When I started the divorce that took over 7 years to finish, Bob was there. He listened, cried with me, asked me questions to help me understand who I was, and listened more. He volunteered to be a “supervisor” when a couple of kids had to go through supervised visitation, and never hesitated or flinched, even though that’s not something most people would ever volunteer for. Throughout the whole thing, I don’t ever remember him telling me how to feel, how to think, how to do the “legal stuff”, or give specific direction, but I do remember conversations with him that felt safe and feeling his innate concern for me and the kids that was always present.
When I left State Farm and became “an unemployed bum”, there was no shame, just understanding and support. When I went back into the workforce with a smaller company, mainly to show myself that the person State Farm said I was wasn’t accurate, nothing changed with Bob. Same support, same understanding, same focus on why I was there.
He was like that. Calm. Consistent. Caring. He was always trying to make me better, not because he wanted something, I think he was just trying to make me be better for the sake of getting better.
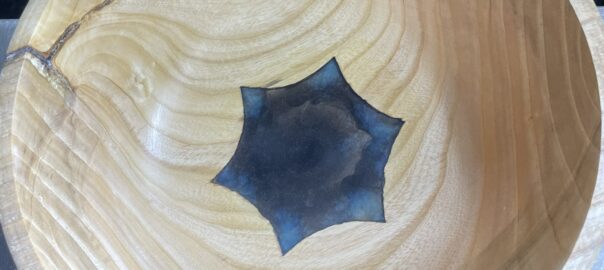
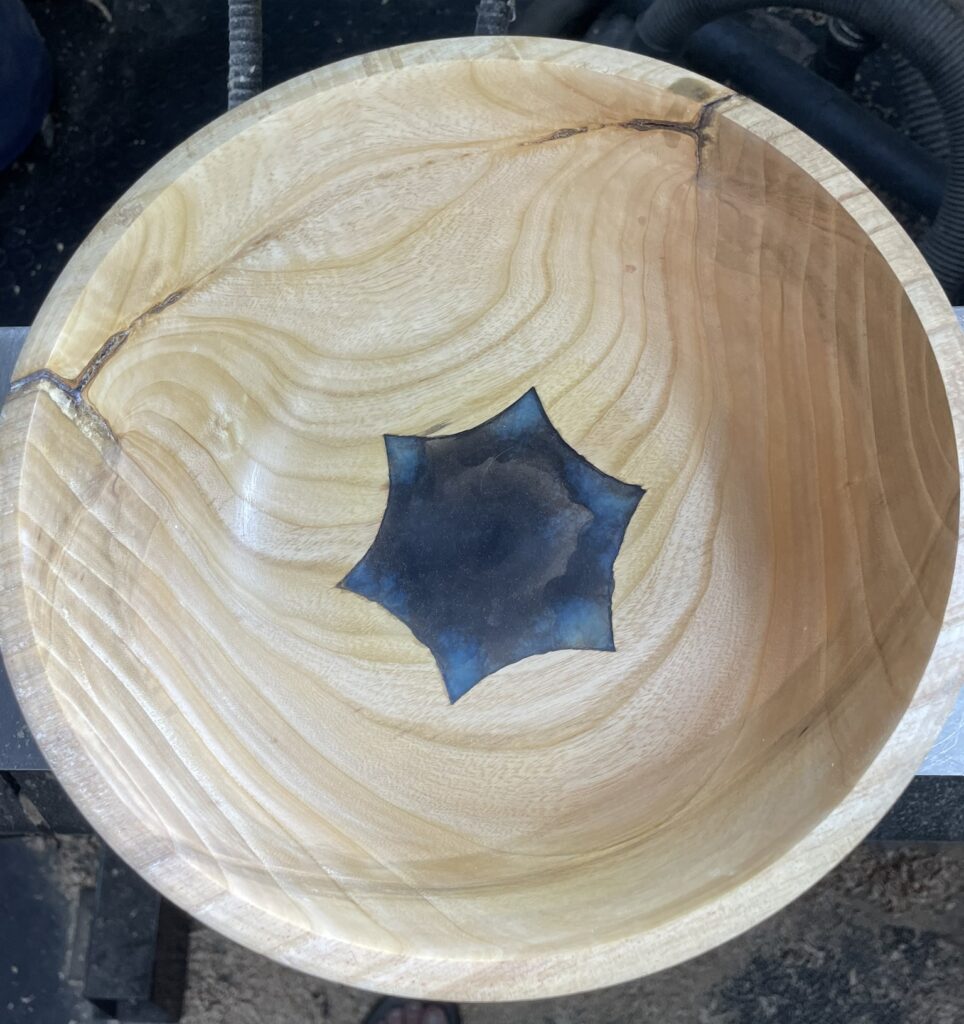
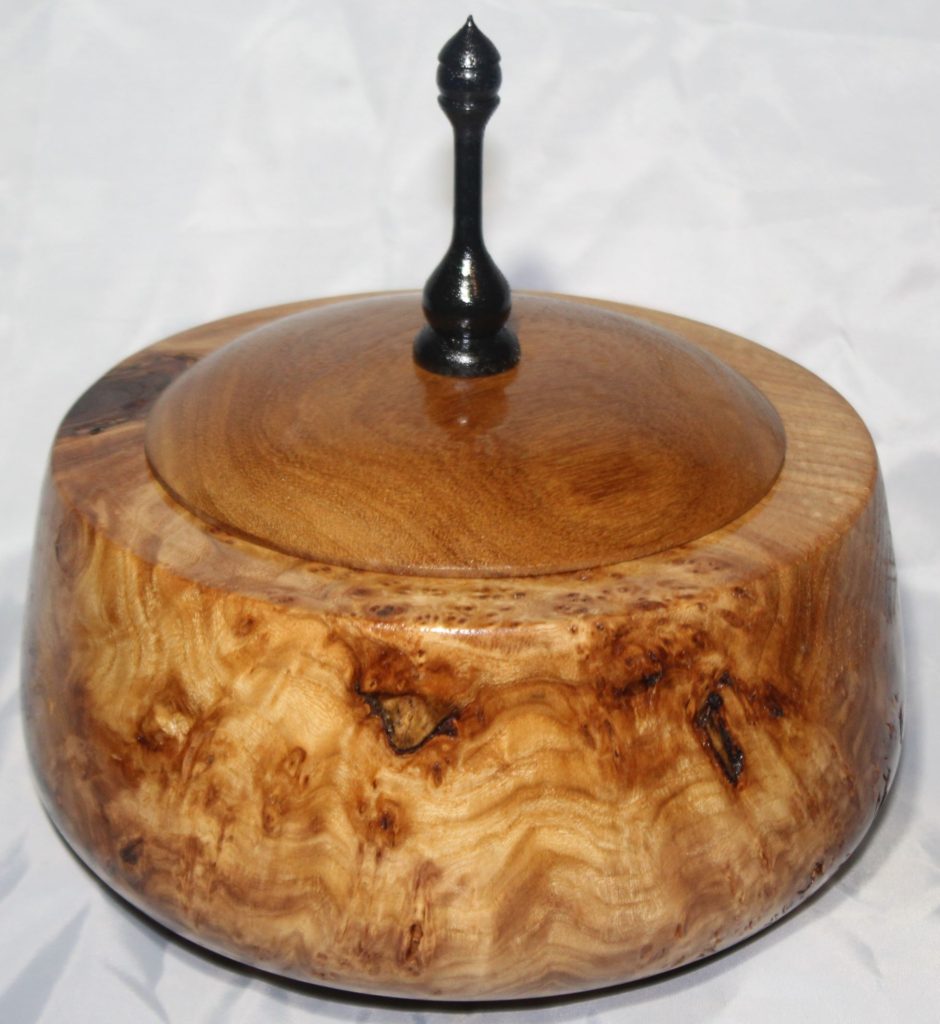
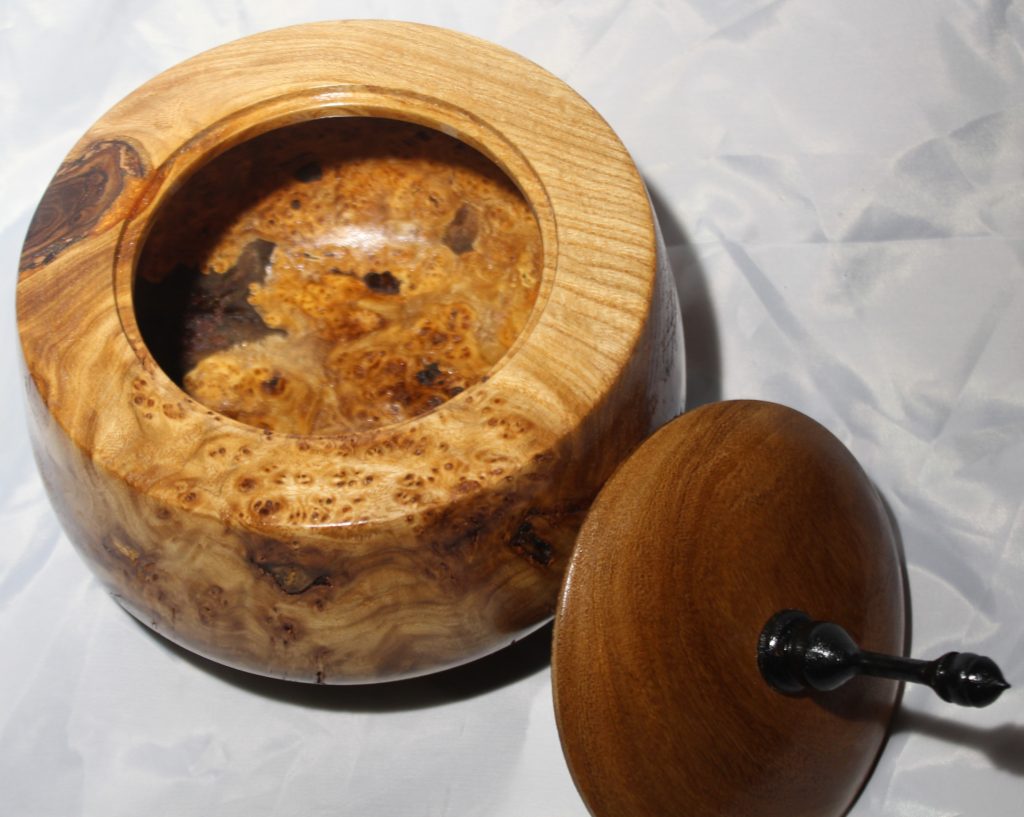
As an example, a couple years into the mentoring, but after the supervised visitation with the divorce was over, we were turning and talking, which was pretty much standard. I mentioned looking at the American Association of Woodturners site and seeing there was a local club that was affiliated with the parent company. It was a casual statement by me, with absolutely no intent to lead anywhere. Bob gave me a funny look, then dropped the bomb that he had been a founding member of the club, back when it was formed! After many years of being in the club and holding various offices, he quit for reasons he was very vague about. Still, as we talked, the “woodturning mentor” side of him stepped up and he offered to go to a meeting with me so I could see what the club was all about, if it would help me be more comfortable. We went. I could tell for Bob, it was a mixed bag, juggling the awkwardness of catching up with old friends mixed with whatever had happened that caused him to leave the club way back when. For me, it was nothing but excitement. Turns out, Bob was right and I knew more than I gave myself credit (he was an excellent teacher!), the other people in the club – even the “experienced” ones – weren’t superior, and there was real value in nerding out over some project that was shared or the grain in a piece of wood. It felt really good, but I still felt like an “imposter”, which Bob assured me was nothing more than a confidence thing. I asked Bob after three or four months if I was “good enough” to bring a piece I’d been working on to the club’s show-n-tell. I was a segmented bowl, but the feature ring had a series of holes and each hold was a post and a wire went through each segment of the ring. Think of it as a fence running through the construction. He looked at it, asked questions about how I had made it, and what I was thinking when I was piecing it together. Then he smiled and said “certainly!” and gave me a look that felt like pride. The night of the meeting, I slipped my project on the table, without any fanfare, content to let it sit in silence, buried among the projects from other “real” turners and nervously waited. As the meeting was waiting to start, club members took time to look through the projects that were brought in and talk about them. Bob and I were sitting next to the table, casually talking, but I kept listening to the critiques, eavesdropping on what was said. I heard the “real” turners say things like “How the hell did he do that?”, ” Who did this? I mean who even thought of this”, “These are some serious skills”, “I’ve never seen anything like this”, “WAY beyond what I could do”… When the show-n-tell part of the meeting started, members took turns holding up their projects and saying a word or two about what they’d brought, with only basic information shared. My turn finally came, I looked at Bob and he just smiled and nodded. I went to the table, picked up my project, introduced myself, admitted it was me that made it, that it was the first thing I’d brought in for show-n-tell, and what it was made from. Total time was way less than a minute. When I put it down and started walking back to my chair, just like the other members had done, that’s when the questions started. The other members took turns rapid firing questions. They honestly couldn’t figure out what I’d done, how I had segmented the pieces while keeping things together, or how I had kept things “centered” while turning. They had no idea and it felt good! As we were leaving the meeting, Bob looked at me again, smiled that knowing smile, and said, “I don’t ever want to hear you say you’re not good enough to be here”.
It took years for the Parkinson’s to finally take everything it could from Bob. It was horrible to watch as the disease took bodily capabilities away in the most malicious way possible, like someone drowning one drop at a time. As it progressed, we couldn’t make it to his shop to make anything and his ability to hold the tools had been taken. I still came over once a week, sometimes to have him look at a project I’d just finished and give me an honest critique or give advice on a project I was just starting, but mostly just to talk, to listen to the old stories, and try to give him something that felt “normal”. I enjoyed the time spent together and tried to give him something that would be close to par for what he gave me, but I never thought I did enough. Close to the end, he thanked me for continuing to be his friend, not just his student, so I hope I did enough. He deserved it!
I knew there would be no cure, that things would continue to disintegrate, and I’ve given up on miracles a long time ago, but I still wasn’t prepared.
Now that he’s gone, going out to my shop has changed. There’s no one to ask clarifying questions, no one to ask for affirmation that the right decisions were made, no one to bounce ideas off of, and no one to tell me how to “fix” a mistakes. There’s just me and my memory of all the things Bob showed, all the little comments he made while I worked, all the shortcuts he taught me, all the cheats he knew, all the mistakes he showed me how to fix, all the “learning moments” he made me go through so I could learn the hard way, and all the things he demonstrated. Not him, just what I’ve learned from him. I picked up a piece of wood to consider turning and as I looked it over I could swear Bob was standing right behind me saying “remember, whatever you do with the rim of that bowl, make sure the rest of the bowl supports it”. When I put the first coat of Polyurethane on another project and snapped the cap back on the can, I could hear Bob whisper “that’s gonna need some sanding before the next coat, right?”.
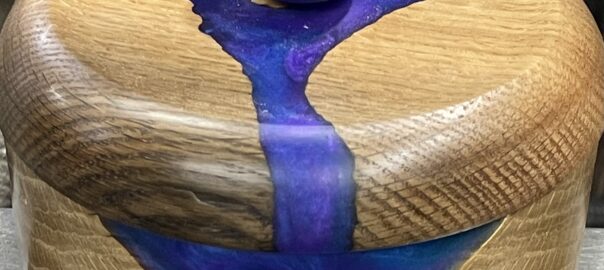
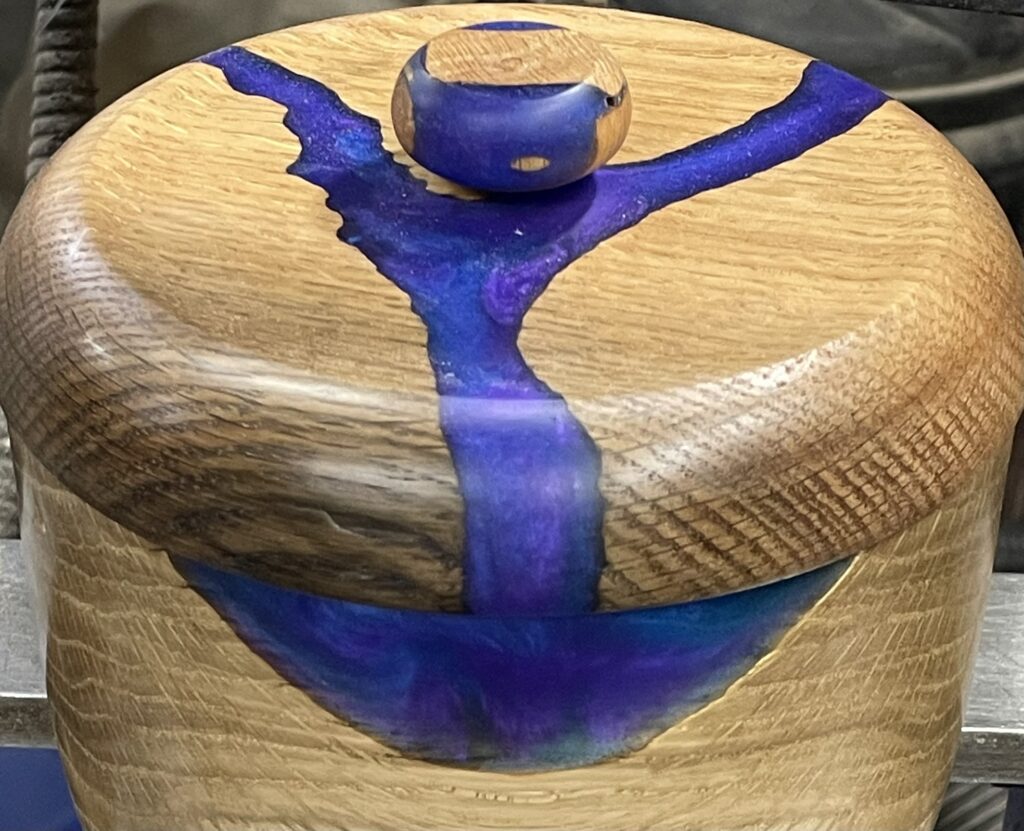
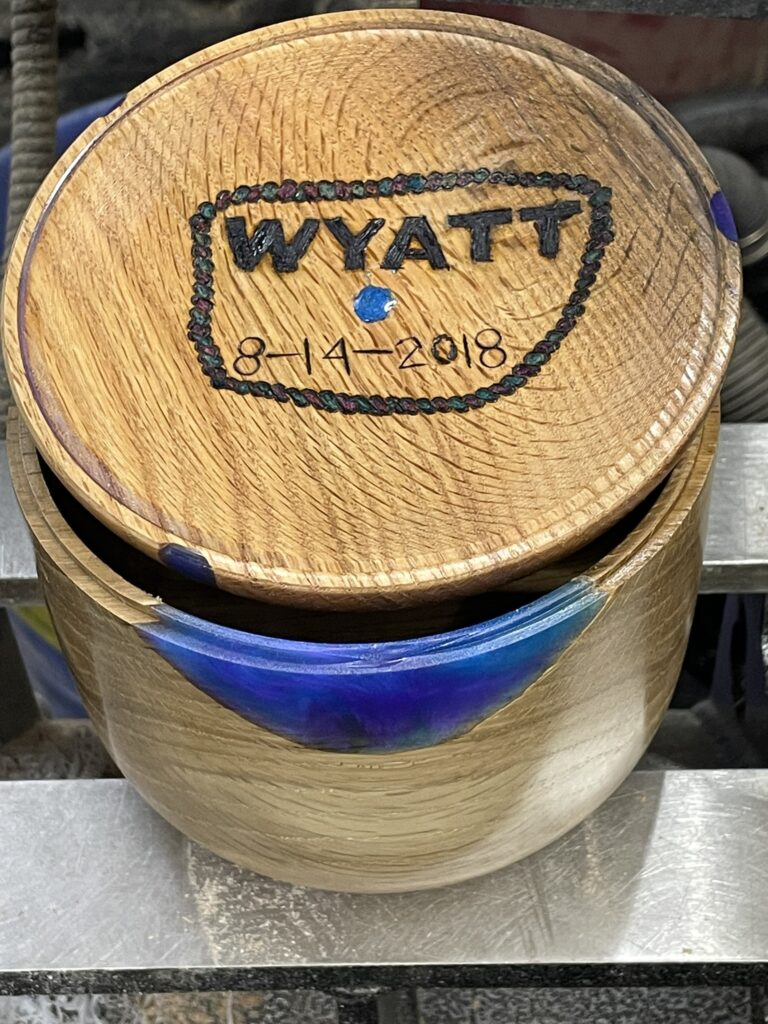
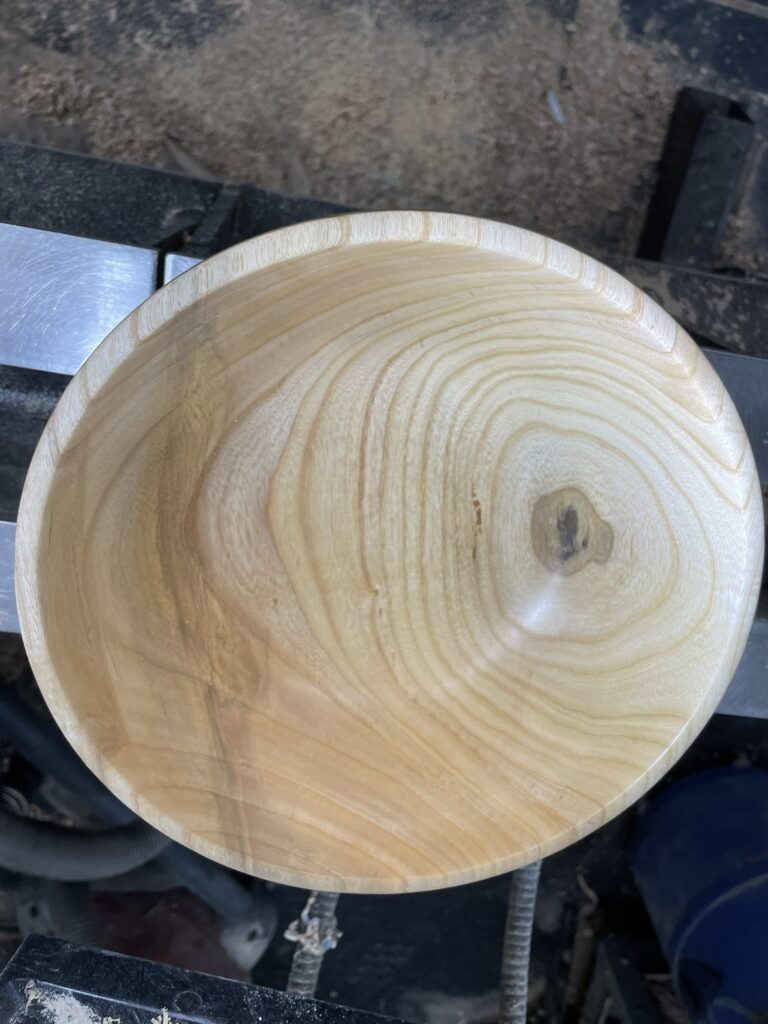
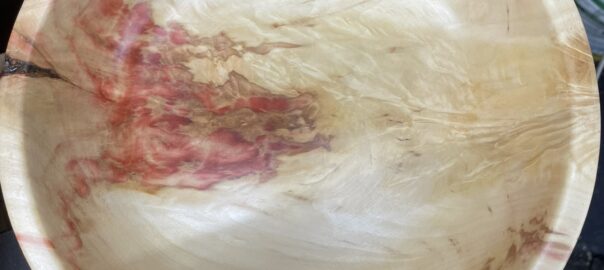
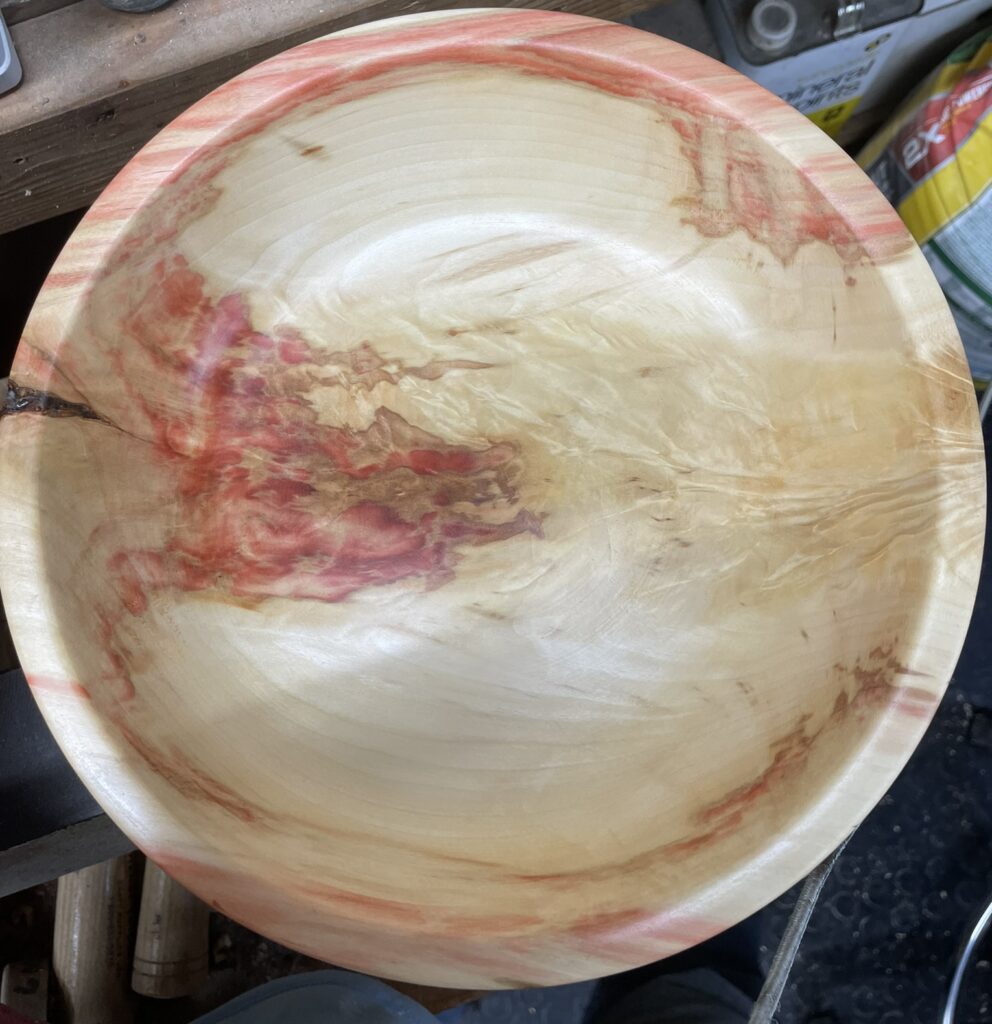
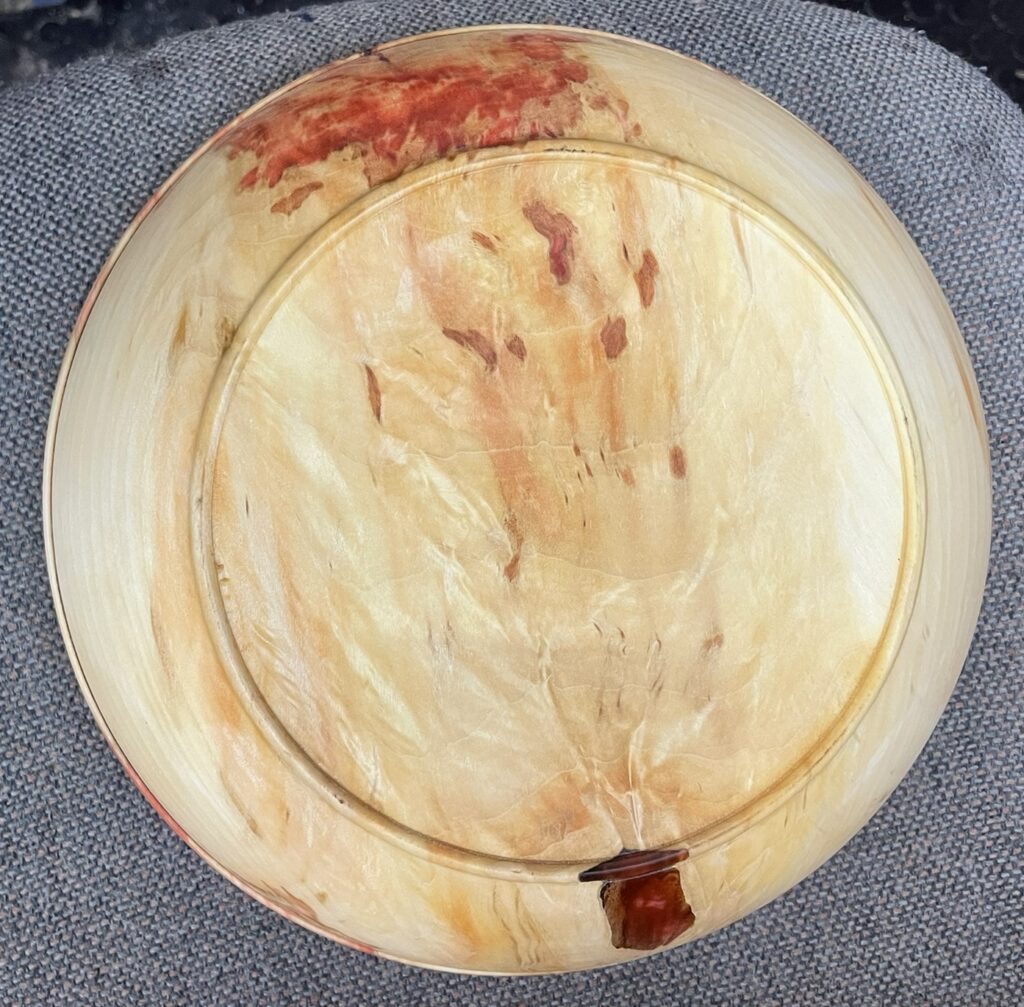
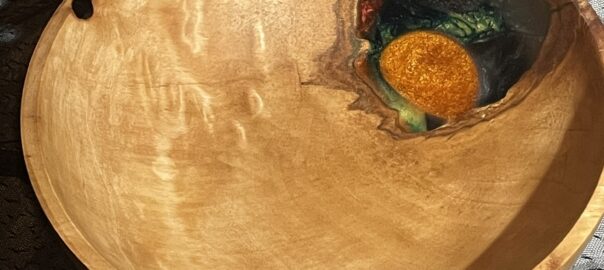
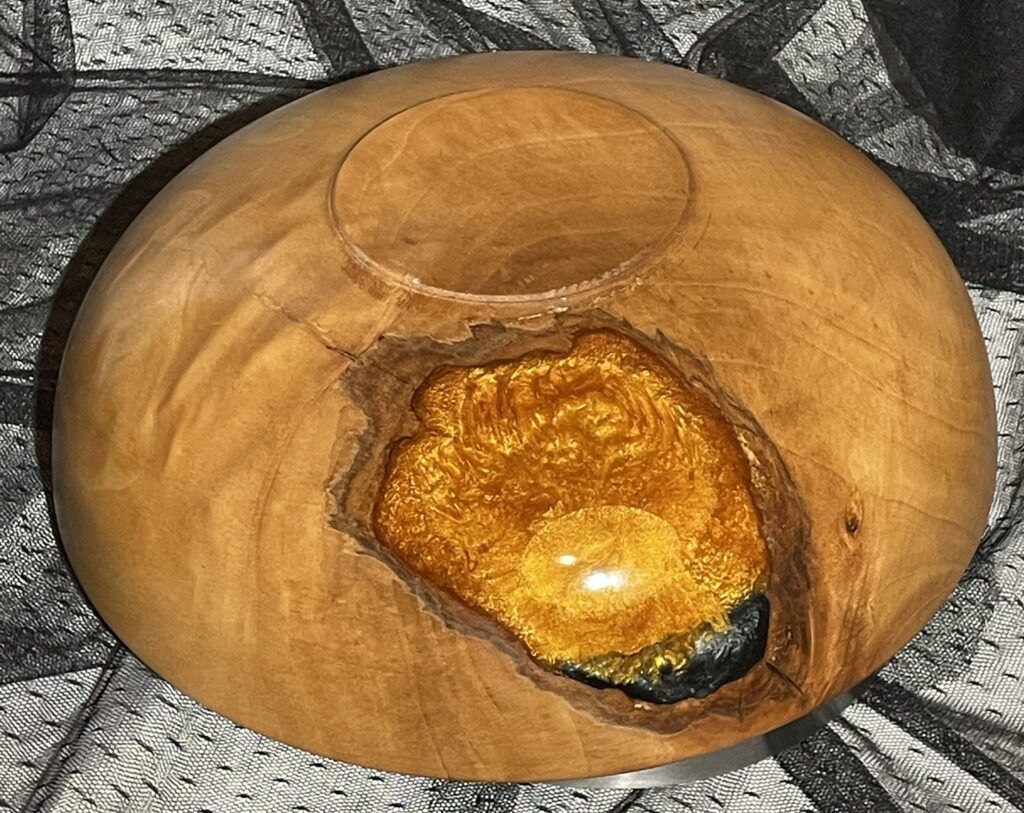
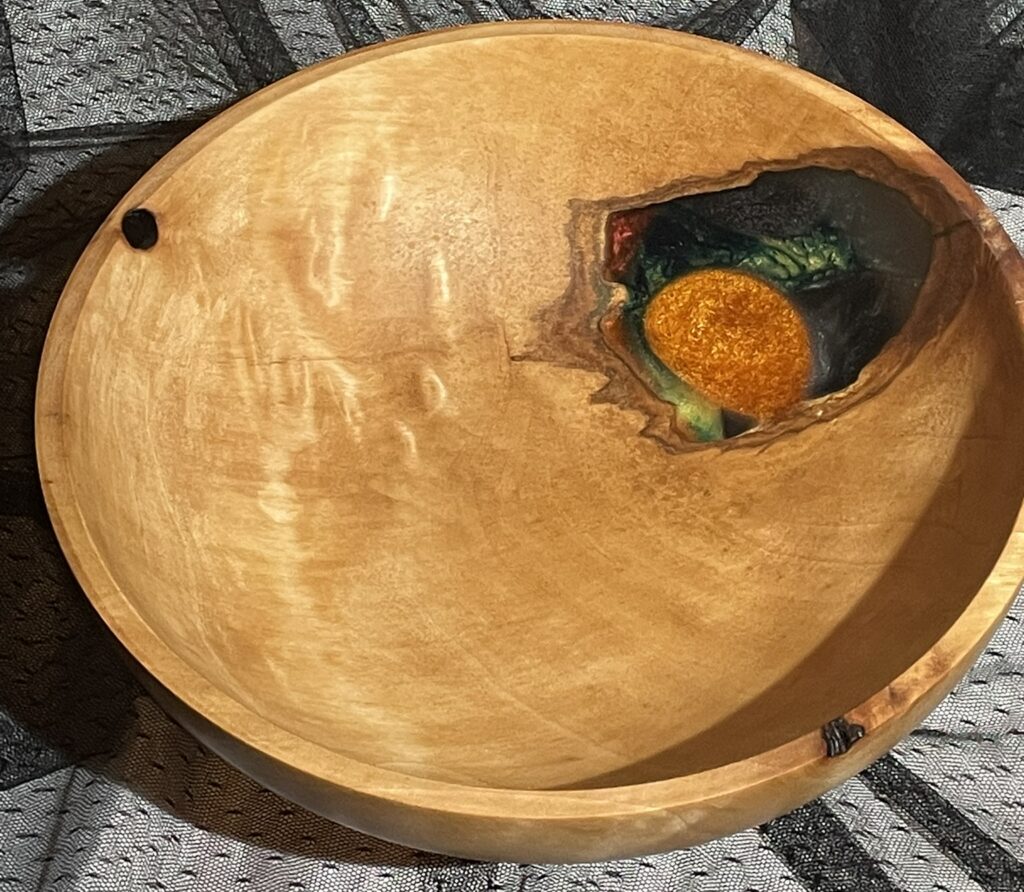
I have a piece of box elder from him on the lathe right now that I’ve been working on for weeks, but have had to stop multiple times just to let the tears fall. I know where the wood came from, what he’d already done to get it ready, and that it was a special piece of wood for him. The last thing I want to do it mess it up, so the pressure it extremely high. Very late last night, while I was sanding the way he showed me, I could have sworn he whispered “that’s right, keep at that one bad spot for now, no need to sand the whole bowl, yet”. I couldn’t help but smile.
I miss you, Bob!