May 18th – Q’s screwdriver – I said earlier that my son was working on a screwdriver for his shop class at high school. He finally finished it and I’m pretty pleased with how it turned out. Q was VERY happy! He sanded it to 8000 grit, so it was as smooth as glass. The end is a piece of blue Corion tile that was polished to the point there are no tool marks in it. He took it to school to turn it in and the other kids in the class were pretty excited. Made him feel pretty good about what he had created. When he showed it to his teacher, his teacher said, “I’ll have to take a picture of it and then grade it later.” No “hey, this is pretty cool looking”. No “wow, you really must have spent some time to make this.” No “I’ve never liked you and I intend to hit you with my car someday.” Nothing… Hope he gets the ‘A’ he deserves, but I don’t have high hopes.
Looks pretty good, I think!View of the Corion insert in the top.
The woodturning club that I belong to has a “president’s challenge” at every meeting. A project is given, then the club members have two months to present a finished project to the club that fits the challenge. Being new to the club, I haven’t participated, yet. There are some people in the club that have been turning for 50+ years, several who are making serious money from selling their work, and some really creative people that I would actually call artists without feeling pretentious. Kind of intimidating to be a newb in a group like that! The last challenge was bottle stoppers, but I didn’t take one in. I was going to, but then I saw the work that was coming in, I had that sudden feeling of being unworthy. Kinda like being back in school when I was drawing stick men and Ted Nowlin was drawing photo-realistic pencil sketches of all three of Charlie’s Angles. The current challenge is to turn a flower. At the meeting last week, I was watching as the entrants came in. Several made tulips, which are pretty common and a few others made marigold-ish things that I’ve done in the past. To be honest, aside from the guy who made wooden roses from the shavings hand planed off of a 2×4, there wasn’t anything that really knocked my socks off. I figured the bar this month wasn’t all that high, so I could wade in.
The current challenge, to celebrate spring, is to turn a flower. At the meeting last week, I was watching as the entrants came in. Several made tulips, which are pretty common and a few others made marigold-ish things that I’ve done in the past, and several brought in creations that were an absolute failure. I have to admit, I secretly like the last group! To be honest, aside from the guy who made wooden roses from the shavings hand planed off of a 2×4, there wasn’t anything that really knocked my socks off. I figured the bar this month wasn’t all that high, so I could wade in.
Here’s my finished piece. I figure it’s not the best thing I’ve ever done, but it’s not so horrible that I’ll be asked to leave the club.
looks good from a distance…
Getting the walnut edges on the pansies was a complete pain in the ass! There was supposed to be another flower, but as I was cutting the petals on the bandsaw, I found out I hadn’t glued the wood good enough. As I started to cut the pieces, they exploded into shrapnel! Since this is just for the club meeting, I figured I’d just pitch it in the fire when the meeting was over. Getting beaned in the forehead just reinforced the notion that a hot dog roast was on the menu for the night immediately following the next club meeting. The vase is a piece of lightly spalted maple that I made in literally 15 minutes. One of my daughters has now “claimed” it, so I’ll have to sneak it into the fire pit. Kids…
UPDATE: When I took this to the club meeting, it was actually VERY well received! The little vase was literally a throw away scrap of wood that took about 5 minutes to make, but people seemed to like the vase as much as the flowers. Go figure!
My son is taking a woodworking class in high school and now that the school year is all but over, they are finally allowed to do something involving the lathe. The “official” project is to make a screwdriver, which in all reality, is pretty boring. Nothing like sparking an interest by having the kids do something really mundane, with only a scraper and 80 grit sandpaper to use for tools. Well, I’ll just say that’s a casualty of the public school system and try something at home. We can certainly do better than that.
I took my son to my friend/mentor’s shop for this introductory lesson. I figured Bob could stress the basics and since the message was coming from someone OTHER than me, the odds that he would actually listen had to be higher. He did pretty good! His first lesson was to turn a sweet potato. MUCH safer and more forgiving than wood and didn’t really make that big of a mess. Next was a piece of softer wood to practice making beads and coves. Q didn’t make any finished projects that night, but he did make a mess and lots of woodchips! When we got home, we decided to make something a little more “free form” that he could keep. What he came up with is a little cup made from a piece of plum. Not sure it has any practical use, but for a first piece, I think it turned out pretty good!
Quintin’s first completed project. I really like the way plum wood looks after it is sanded. Look close and you can see all the little brown lines that cross the growth rings. Haven’t seen that in any wood except sycamore.
April 9 – The Mulberry failure! I have a standing offer with the people I work with. If they’re taking a tree down, I’ll help them cut it up in exchange for chunks of wood that I can turn. I also agree to make them something out of the wood that I collect. Everybody wins. They get free help to dispose of the tree AND some kind of memento from the tree to keep, which is apparently WAY cooler than I had thought it would be! I get a steady supply of wood to feed my addiction. A couple of months ago, a guy I work with told me that his father-in-law’s place got hit by the season’s last winter storm and the high winds took a tree down. He asked me if I would be interested in a Mulberry tree, that’s about 20″ across. Asking a wood turner if they want something like that is pretty much the same thing as asking someone who makes meth if they want a couple free cases of Sudafed. The cutting was easy, and I managed to score a carload of hefty logs that I cut in half, sealed the ends, and left to dry.
Mulberry, if you’ve never seen it while it’s still green, has two very distinctive properties. First, its a beautiful bright yellow color that I haven’t seen in other domestic woods. It reminds me a lot of an exotic wood called yellowheart. Over time, it will change into a yellowish brown color, but it’s still very pretty, with a clear grain pattern! Second, it holds moisture like a sponge! Since my little lathe doesn’t have the horsepower to spin something that heavy, I took it to a friend’s house to rough out the shape so it could finish drying. As the wood spun, it literally had water flying out of it to the point it leaves your shirt damp. It will also cause rust to form on the lathe where ever it sits, so we had to make sure we had everything dusted off when we were finished. Here’s a picture of the wood, before we started to turn it into a bowl.
This is freshly cut mulberry, with the distinctive yellow color. Quite a difference between this color of wood and the color of the bird poo that lands on your car later on…
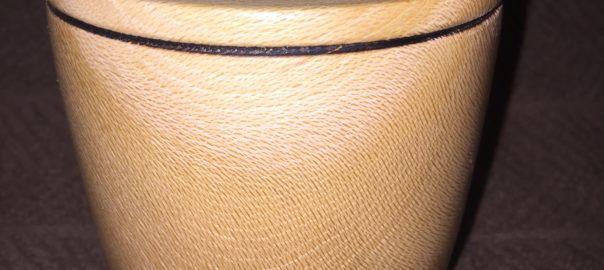
When I got home, I put the roughed out bowl in my makeshift kiln to dry at about 105-110 degrees, and figured after a couple of weeks I’d be ready to finish the project. That was Friday. Today (Sunday) I checked the progress and realized that Mulberry has another very distinct property: It doesn’t like to be dried in a kiln! This is what it looks like now, and it’s still nowhere close to dry enough to finish turn.
Apparently, you can’t rush the drying process for green Mulberry blanks without the tree resisting.
Each of those black lines radiating out from the top of the bowl is a crack and the other side of the bowl looks just as bad. Since it’s not done drying, the cracks are just going to keep opening up. A few years ago, once I got done cussing, I would have just tossed this kind of blank into the burn pile. Now, however, I’m not smart enough to cut my losses and have decided this is a potential “design opportunity”. I put it back in the kiln and raised the temperature up to 120-125 and lessened the circulation of air. With any luck, I can force the cracks in the bowl to open up even more. If it works, I should be able to fill the cracks with some kind of colored inlay, which will either look really cool when I’m done, or look really cool glowing in the firepit. We’ll see in a couple of weeks…
The rest of the Mulberry logs are going to remain sealed, in half-log form, until at least this fall before I even attempt to do anything with it.
This one, I thought turned out pretty cool! It started out with a plain ash bowl that just looked – well – plain. I thought I’d add a ring to the top of it using a darker color wood to add some contrast. That’s were it started, but sometimes, things just cascade out of control! As I started making the segments for the ring, I thought “Ooh, I can add a hole in the middle of the segment, so it’s see-through! Once the holes were done, it was “Ooh, I can add a post through the circles!”. The it was “OoH, I can add a wire, through the posts, through the circles! “. I stopped myself when I realized I was actually considering how to make the spikes on the wire so that it would look like miniature barbed wire. The amount of work it took to get all that stuff crammed into one ring was no small task and took a LOT longer than I expected to fabricate all the pieces. It’s the first time I’ve attempted something like this and was certainly provided many “learning opportunities”. If fellow turners look closely, there are ample flaws with the execution, but I at least got the top of the ash part to line up with the bottom part. If I make another one, there is a long list of things that I would do differently! Still thinking about how to add spikes, though…
Looks pretty cool from a distance. Up close, I’m hoping the “how’d you do that” factor of seeing the wire running through the bowl will stop people from looking too closely.
This bowl is not new. I made it a couple of years ago out of what I think was mahogany and cumaru. I thought there would be a greater variance in the color, but the two just kind of blended together. It was an early attempt at segmented turning that didn’t turn out as anything more than a practice piece. It was slated for the fire! My daughter Emily and “claimed” it, so I let her have it, hoping she would turn it into some kind of planter that would hide the issues visible on the inside. Time passed and earlier this year, while In the process of moving back into the house, it got left in the trunk of her car with several potatoes in it. That was not a typo, there were actual potatoes sitting in the bottom of the bowl. They rotted and left some kind of nastiness in the bottom, that ruined the finish. I thought it was finally ready for the match, but Emily has really big, brown eyes, so Itook it back down to the shop and had to do some work on it. Still don’t like it, but at least at this point it doesn’t stink.
This is another bowl from the cherry tree a co-worker gave me. You can see the worms were busy snacking on this one, which left some interesting holes in the sides. The middle of the tree was also starting to breakdown, which causes the darker spots on the side. Pictures can’t show it, but to hold this bowl, it is about 1/4″ thick and feather light.
“Easy” way to make a threaded box: At one of the carving club meetings, a guy brought in a sphere that he had cut in half, hollowed out, and then tried to put threaded PVC pieces into it so make is into a box. Really cool idea, except he left an uneven gap in the split after the two halves were put back together. My mentor/friend Bob and I looked at the piece and decided that between the two of us, we could fix that teeny, tiny, little problem.
So this past Saturday, we got the PVC pieces and started in on the project. We figured it would take one hour – tops – and we’d be done. Our Saturday session ended four hours later with nothing to really show for our work than a string of obscenities, cobbled together in unique patterns. Every time we tried to put the lid together, it would either end up with the same crooked crack that the other guy had, or the PVC fitting would come loose and break away from the wood.
Sunday, we decided that we had come too far to quit, so we went back at it. We finally realized that the reason for the crooked gap was because the lid was that as the threads locked, it would “tilt” the lid to the same angle as the threads. Closer examination showed that we had set the insert on a little “shelf” we had left in the lid, but since it was sitting on the bottom thread, it was tipping the lid to one side. We figured out how to set the PVC insert in flat and solved that little problem. To solve the problem of getting the PVC to stick to the wood, we used CA glue to glue the insert to the wood, then we used plumber’s epoxy to fill the small space around where the fitting attached to the box lid. One of those two changes worked and we were able to complete the project. Not too shabby, considering all we had to go through to make this little buggar!
Still some finish work to do on the underside of the lid.PVC Box side view
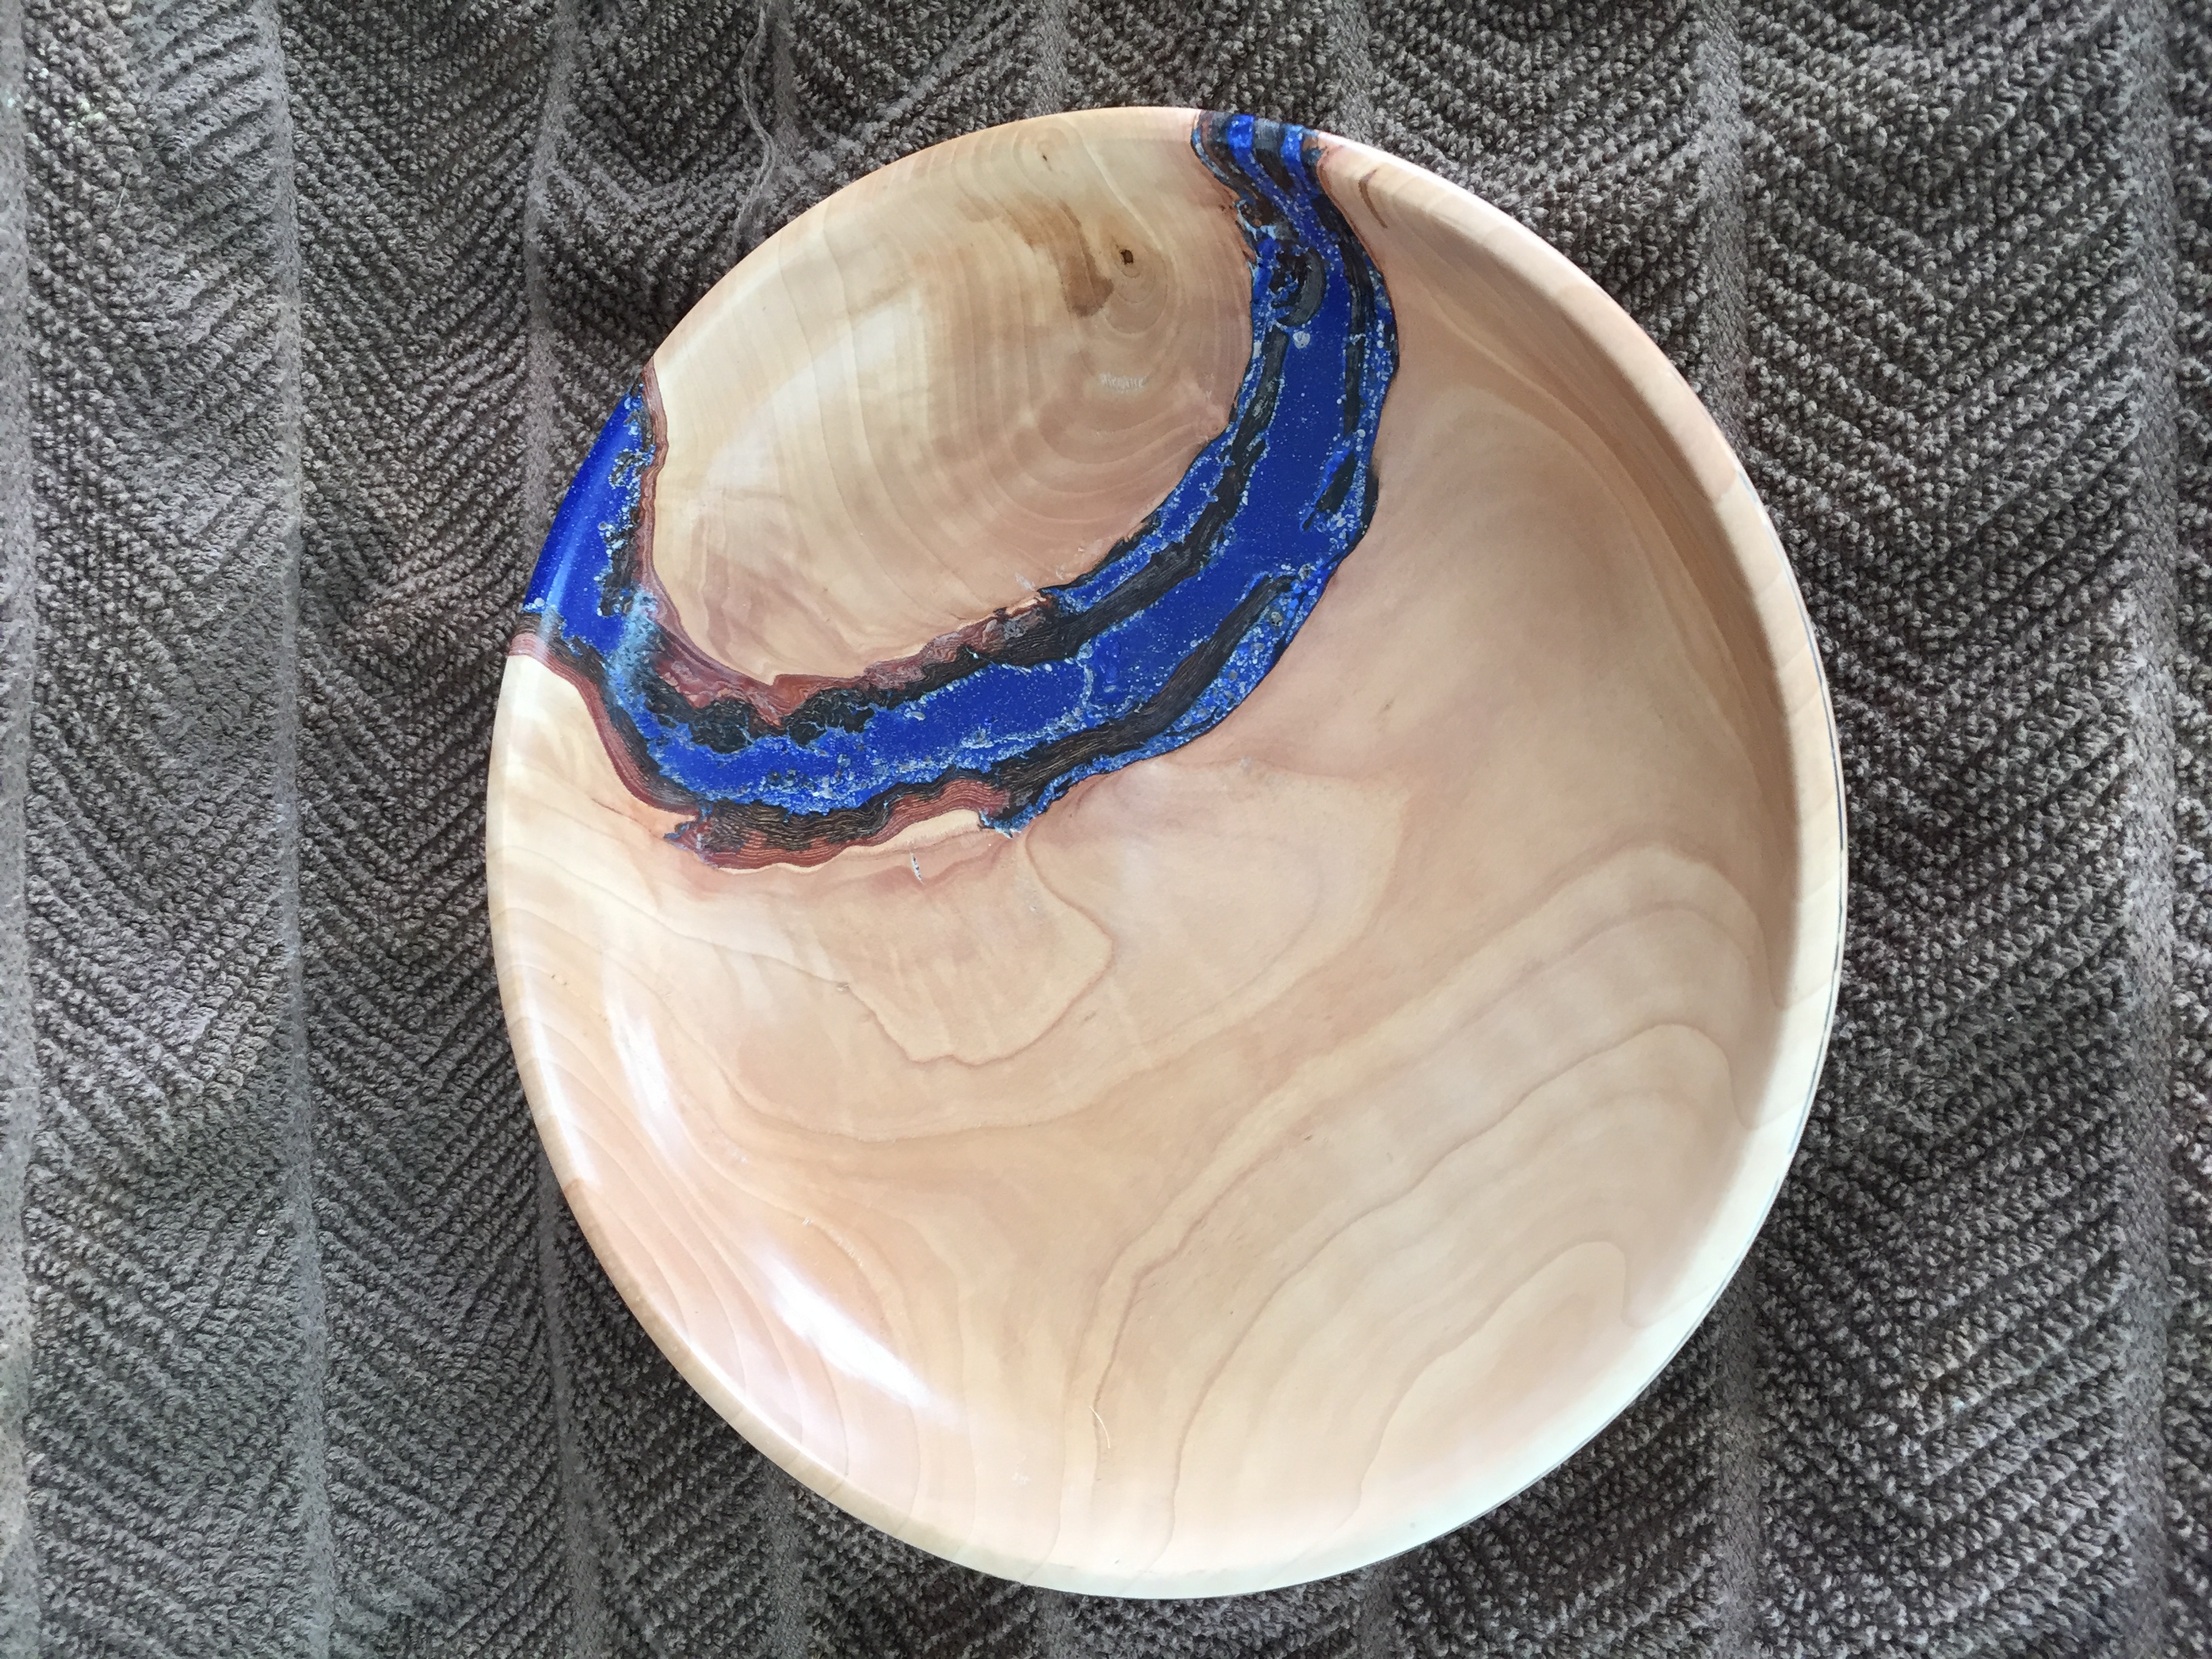
Colored Epoxy: So about 5 years ago when I started turning, I was cutting up firewood and saved a small slab of cherry that looked like someday it could be turned into something kinda neat. There was a branch that was wrapping around the trunk of the cherry tree, and the small bit that I saved had a cross section of both the trunk and the side branch. I finally decided to tackle the project, because it seemed so simple: Fill the void with something, then turn it into a shallow bowl. What could go wrong?
I decided to use clear epoxy, mixed with blue chalk to make a bright blue inlay between the two separate pieces of wood. I quickly learned two things. First, without a vacuum chamber or some kind of pressure cooker kind of thing, when filling in a void that deep there is absolutely no place for the air bubbles to go. The end result is that once I started turning, the air bubbles would be exposed and look really bad. It ended up taking multiple “mix and fill” sessions, each requiring the piece to wait overnight, before I could finish the bowl. Second, I learned that trying to keep epoxy from running all of the place when the crack is on a round surface is pretty much impossible. The mess created by all the dripping and spills was a constant struggle. In the end, this is what I ended up with. DEFINITELY worth the effort, I think!
George Brett would be proud! So a friend of mine told me there was a big tree trunk that someone had cut down and rolled out to the curb, just after the last big snow that we had. From the drive-by viewing that he did, he thought it looked like walnut and suggested that I may want to pick it up. Free walnut? Hells yeah! My intention was to swing by on my way home from work that night and pick it up. I didn’t get out as quickly as I had planned, so by the time I drove by the place, it was dark enough the streetlights were on, everyone else was settled into their dinner routines and the street was empty. I immediately saw the cache of wood consisted of a big, long chunk sitting right on the curb, and a shorter but wider piece that was half buried in snow. I popped the back and prepared to muscle the longer piece into the suburban. That’s when I realized it wasn’t walnut, it was pine. Not a good pine like a southern yellow pine, but the deep red pine that comes from evergreen trees that really serve no purpose except to make people trying to mow around them itch. Since I already had it out in the street, I figured I was committed and finished the loading. I hated that log! Being freshly cut, it was oozing sap everywhere and since it had been sitting in a snow bank, it was waterlogged and heavy. Lovely!
Today, that little voice in my head said “maybe you’re being too harsh. Surely it can’t be as bad as you’re imagining! Cut up the tree trunk and see what you get.” I listened and decided to split the log and see what I was working with. Here’s what the middle of that log looked like:
ICK!!!
The stuff that looks like congealed hamburger grease is actually the resin from the pine tree. That’s the part of a pine tree that makes houses burn really hot, really fast, and this tree had an excessive amount. This crap sticks to everything, leaves everything that touches it smelling like pine and pretty much just gums up the works. When I figure out how to get a bowl blank cut from the log without getting that gunk all over my saw and tools, I’ll turn something, even if it’s just to punish the tree for making my friend fall for it’s walnut tree impersonation. Next time I hear that little voice, I think I’m going to seek professional help…